Cast Iron Dutch Oven Brisket Recipe: Secret to Juicy Perfection
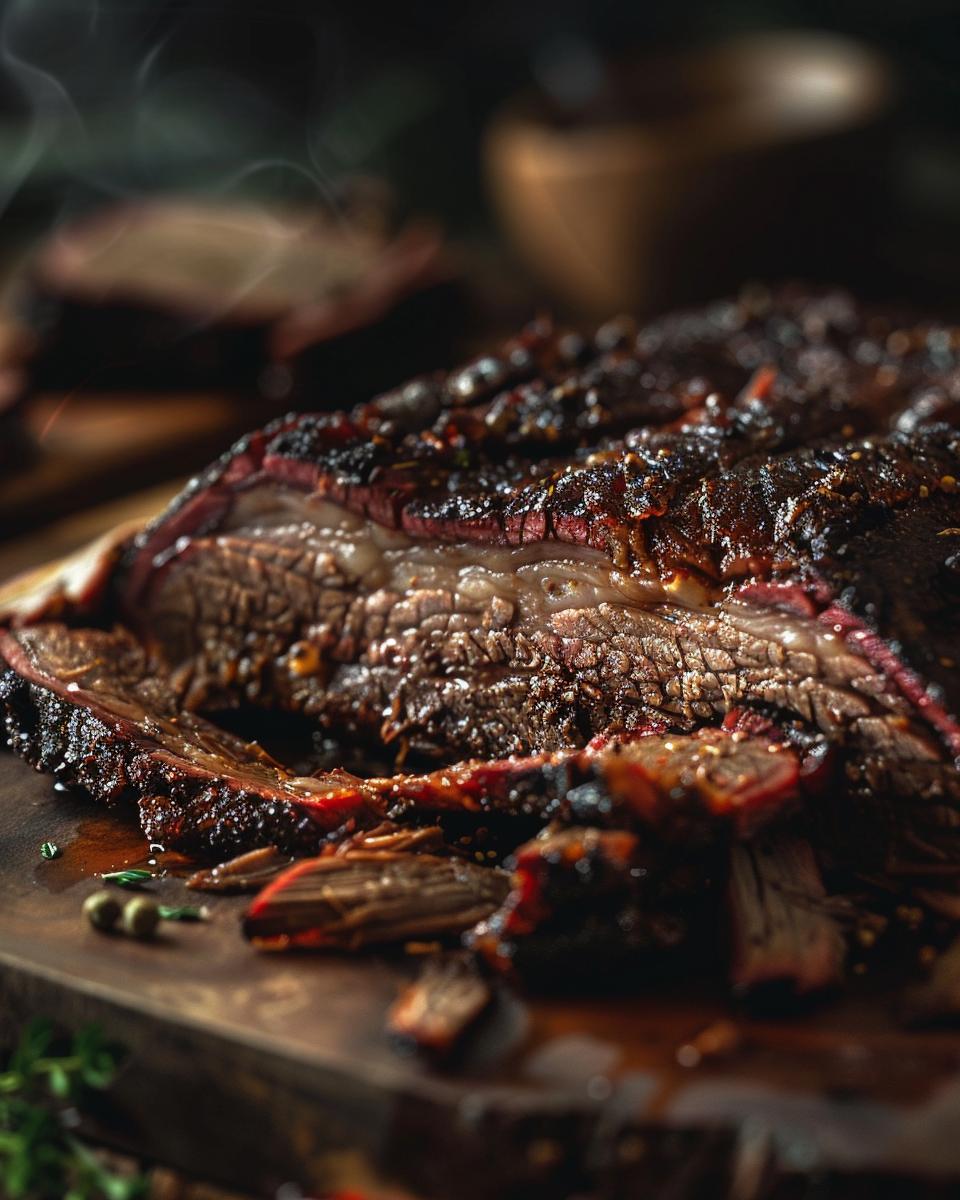
Have you ever wondered how to achieve that mouth-watering, fall-apart tender brisket at home? Look no further, because the secret lies in a cast iron dutch oven brisket recipe. This method not only infuses your brisket with incredible flavor but also ensures it stays juicy and tender, making every bite a taste of perfection. And the best part? It’s simpler than you might think.
In this recipe:
- The secret to juicy perfection
- Simple steps to follow
- Essential tips for best results
Moreover, if you’re keen on exploring more about brisket recipes, our Best Smoked Brisket Recipe is a treasure trove of tips and secrets from the pit boss themselves. And for those who love to grill, our Spencer Steak Recipe will unlock new levels of juicy perfection. Each of these links opens a door to a world where flavor and tenderness reign supreme. So, why wait? Dive into this cast iron dutch oven brisket recipe and let the magic begin.

Preparation Overview for Dutch Oven Brisket
Ready to tackle an easy cast iron dutch oven brisket recipe? Whether you’re a beginner or an experienced cook, this method is for you. Cooking brisket in a cast iron Dutch oven might sound daunting, but it’s surprisingly simple. With the right tools and a bit of patience, you’ll be on your way to brisket bliss.
First, understand that the key to success lies in the quality of your Dutch oven. A high-quality cast iron Dutch oven, like a Le Creuset, is essential. These ovens distribute heat evenly, ensuring your brisket cooks perfectly. Now, let’s talk about the difficulty level. While it does require some time and attention, cooking brisket in a cast iron Dutch oven is not as hard as it seems. With the right recipe, even novices can produce a dish that tastes professionally made.
Essential Tools and Equipment
Before you dive into the best cast iron Dutch oven brisket recipe, make sure you have these essentials:
- A quality Dutch oven – Le Creuset dutch oven recipes attest to the importance of a good cast iron pot.
- A meat thermometer – Ensuring your brisket reaches the correct internal temperature is crucial.
- Sharp knives – For trimming the brisket pre-cooking and slicing it post-cooking.
Additionally, patience and time are non-negotiable. Brisket is a cut that benefits from slow cooking, allowing the fat to render and the meat to tenderize. For those looking to explore further, here is an excellent resource for a step-by-step guide on cooking your brisket to perfection.
In summary, an easy cast iron Dutch oven brisket recipe is within reach for cooks of all levels. With the right equipment, particularly a quality cast iron Dutch oven, and a bit of patience, you’re well on your way to creating a delicious, tender brisket that will impress any diner.
Gathering Your Ingredients
Now that we’ve covered the minimal equipment needed, let’s dive into the ingredients. The right selection can make or break your dutch oven brisket. So, how do we ensure a perfect outcome? It starts with quality ingredients. Whether you’re aiming for a Texas brisket recipe oven style, a BBQ brisket recipe oven flavor, or even a Jewish brisket recipe, the foundation remains the same: a good cut of meat and the right seasoning.
Essential Ingredients for Your Dutch Oven Brisket
First off, the meat:
- Brisket: Look for a quality cut, ideally with a good fat cap on one side. This fat layer will melt over time, infusing the brisket with flavor and keeping it moist.
Next, let’s talk seasoning:
- Dry Rub: You can opt for a simple mix of salt and pepper for a classic dry rub brisket Dutch oven approach, or get creative with garlic powder, onion powder, and smoked paprika for more depth.
- Marination: If you have time, marinating your brisket overnight can enhance its flavor. Use a blend of your favorite BBQ sauce, vinegar, and spices to create a rich base.
Choosing a quality brisket is crucial. It’s the centerpiece of your dish, after all. And when it comes to seasoning, don’t be afraid to experiment. Whether you’re following a texas brisket recipe oven or a bbq brisket recipe oven, the right blend of spices can elevate your brisket from good to unforgettable. Ready to get cooking?
Step-by-Step Cooking Instructions
Now that you’ve got your ingredients ready, let’s dive into how to transform them into a mouth-watering Dutch oven brisket. I promise, it’s easier than you think! Are you ready to impress yourself and your guests? Let’s get started.
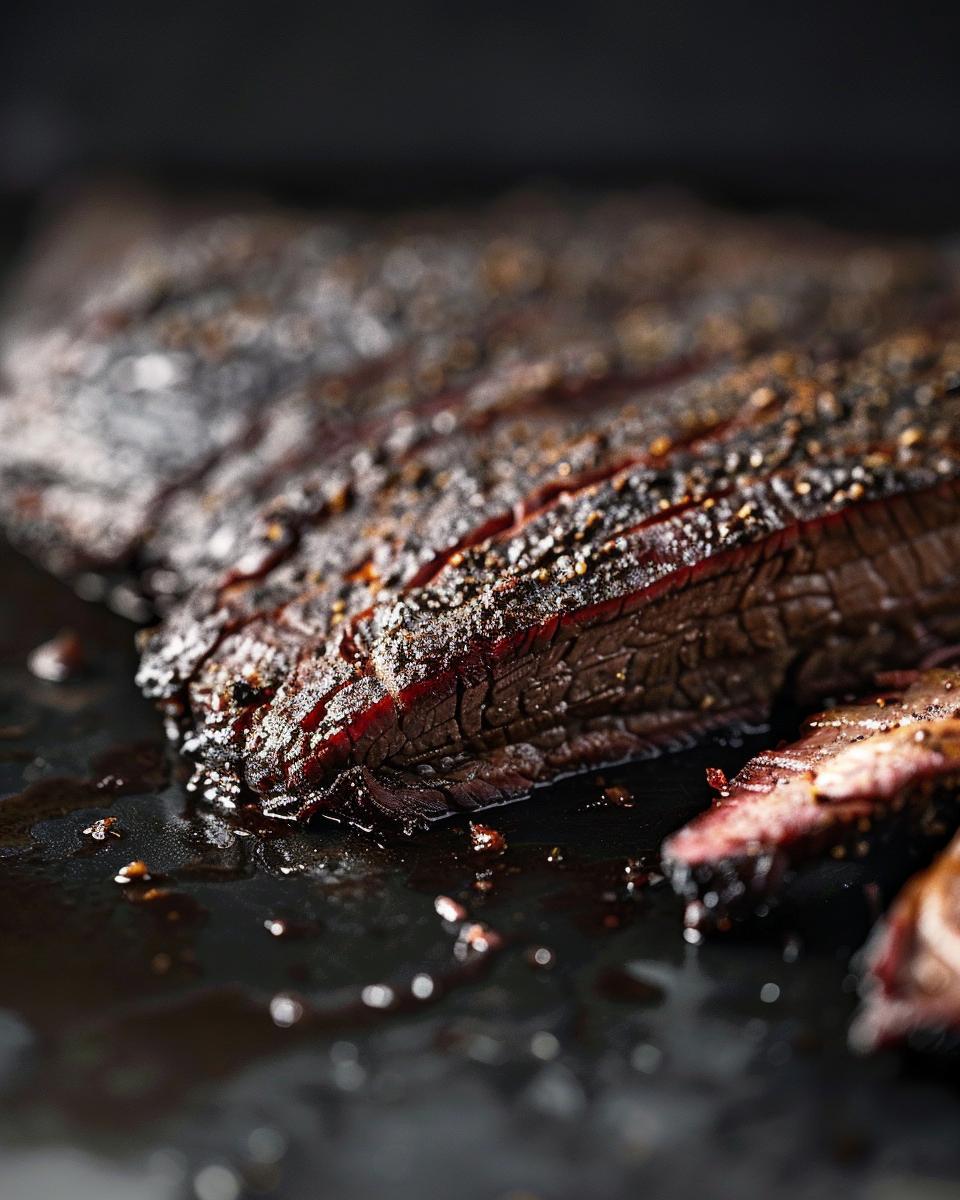
First things first, you’ll want to prep your brisket. Make sure it’s trimmed of excess fat but leave a thin layer for flavor. Give it a good rub with your spices. This step is crucial for that deep, complex flavor we all love in a slow-cooked Dutch oven brisket in oven.
Bringing the Heat: Cooking Your Brisket
Preheat your oven to 300°F (150°C). This low and slow approach is the secret to a tender, juicy beef brisket in Dutch oven. Place your brisket in the Dutch oven, fat side up, and pour in enough beef broth to cover the bottom of the pan. This will keep the brisket moist during cooking.
- Cover the Dutch oven tightly with its lid or aluminum foil. This keeps the moisture locked in, which is key.
- Place the Dutch oven in the preheated oven. Now, patience is your friend. You’ll want to cook your brisket for about 3 to 4 hours.
- Check the brisket every hour, adding more broth if it’s looking dry. This step is vital for a Dutch oven brisket serious eats style outcome.
After the cooking time, check if the brisket is fork-tender. If it’s not, don’t worry! Just give it more time. This isn’t a race. Once it’s done, let it rest before slicing against the grain. This rest period lets the juices redistribute, making every bite as juicy as the last.
There you have it! A step-by-step guide to making the perfect Dutch oven brisket. With these tips, you’re sure to achieve juicy perfection. Remember, the key is in the slow cooking. So, go ahead, give it a try, and watch as your brisket becomes the talk of the table!
Serving and Storage Insights
Now that you’ve mastered the art of making a mouthwatering Dutch oven brisket, let’s dive into the equally important aspects of serving and storing your culinary masterpiece. Whether you’re a seasoned chef or a kitchen newbie, these tips will ensure your brisket remains the star of the table and the fridge.
Serving Your Brisket to Rave Reviews
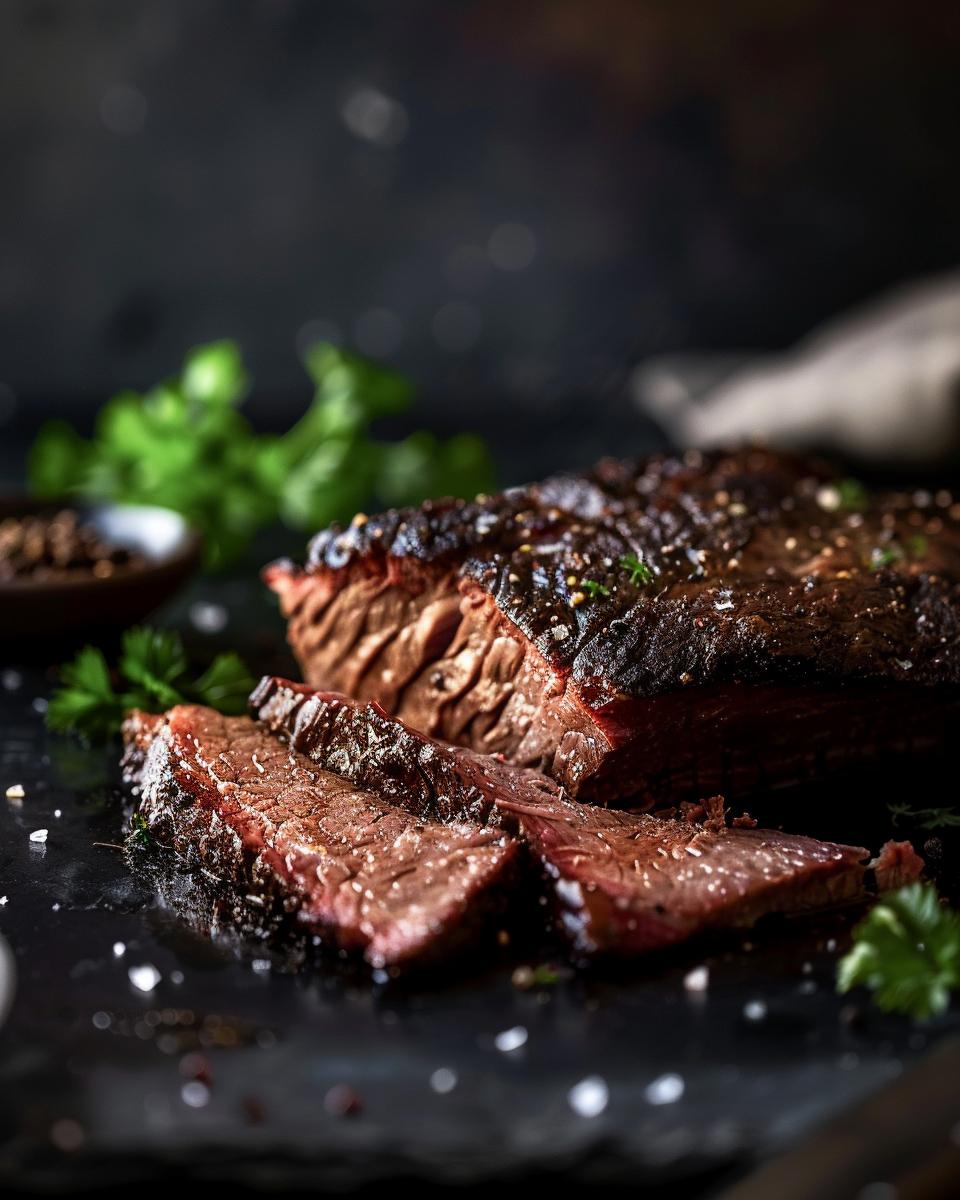
First things first, let’s talk serving suggestions. After your brisket has been gently simmering in its Dutch oven cocoon, achieving that juicy perfection takes a bit of patience. Resting it before slicing is key. Why rush when you’re this close to glory? Aim for a 10-15 minute rest; this allows the juices to redistribute, ensuring every slice is as succulent as the last. Now, for the grand reveal. Slice against the grain for maximum tenderness, and pair with your favorite sides. Roasted vegetables, mashed potatoes, or a simple green salad? The choice is yours.
But what about storing brisket leftovers, you ask? Here’s where things get interesting. Properly stored, your brisket can be a gift that keeps on giving. Cool it down quickly and transfer it into airtight containers. Refrigerated, it plays well for up to 3-4 days. Freezing? Wrap it tightly and say hello to a delicious future meal up to 3 months later.
Reheating brisket tips are next. The goal? Retaining moisture. Gently reheat in a covered dish, with a splash of broth or its own juices, to bring back that just-cooked tenderness. Low and slow is the mantra here, whether using an oven or a stovetop.
So there you have it, a complete guide to serving, storing, and reheating your Dutch oven brisket. With these tips, your brisket is not just a meal but an experience, ready to impress at any moment. Ready to slice into your next culinary adventure?
Pro Tip for Cast Iron Dutch Oven Brisket Recipe
- Firstly, always preheat your Dutch oven before adding your brisket.
- Secondly, for even cooking, rotate the brisket every hour.
- Thirdly, a low and slow approach ensures tender results.
- Moreover, let the brisket rest before slicing to retain juices.
- Additionally, use a meat thermometer to check for doneness accurately.
- Lastly, incorporate a mix of dry and wet ingredients for the rub.
Frequently Asked Questions
After diving into some pro tips, let’s tackle some FAQs about making that perfect Dutch oven brisket. Whether you’re a beginner or looking to refine your skills, I’ve got you covered.
Top Questions on Dutch Oven Brisket
1. What are some ingredient replacement options for dietary restrictions or availability issues?
Great question! For those looking for alternative ingredient options, consider using a gluten-free beer or broth as a base for your brisket if you’re avoiding gluten. For a soy-free option, coconut aminos are a fantastic substitute for soy sauce. And, if you’re keeping things kosher, ensure all ingredients, including the brisket itself, meet kosher standards. Wendy Polisi has some great brisket recipes that are easily adaptable.
2. How can I save money on brisket without compromising quality?
To save money, consider buying brisket in bulk or when it’s on sale and freezing it. Another tip is to choose a flat cut over a point cut; it’s usually cheaper and cooks more evenly in a Dutch oven. Remember, with the right seasoning and cooking technique, even less expensive cuts can taste amazing.
3. Any additional cooking tips for beginners?
Definitely! First, always sear your brisket on all sides before slow cooking. This locks in flavor and gives it a beautiful crust. Also, don’t rush the cooking process. Low and slow is the key to a tender, flavorful brisket. Lastly, let your brisket rest before slicing to retain its juices.
4. Can I make a Dutch oven brisket in a slow cooker?
Absolutely! For an easy Jewish brisket slow cooker recipe, simply adjust the cooking time. Typically, a brisket will need about 8 hours on low in a slow cooker. This method is great for tender, fall-apart meat with minimal effort.
5. Are there any quick seasoning tips for a flavorful brisket?
Yes! Don’t underestimate the power of a good rub. Combine salt, pepper, garlic powder, onion powder, and a touch of smoked paprika for a simple yet effective seasoning. For a more complex flavor, check out this BBQ seasoning mix.

