Best Creme Brulee Recipe Revealed: Uncover the Secret Steps
Are you ready to elevate your dessert game? Today, we’re revealing the best creme brulee recipe that will transform your culinary skills. This classic French dessert is a favorite for its creamy custard and crisp caramelized sugar topping. Follow our guide to create a perfect creme brulee every time.
In this recipe:
- Simple ingredients and equipment
- Step-by-step instructions
- Tips for perfect caramelization
- Storage and serving suggestions
Crème brûlée may seem intimidating, but with our detailed recipe, you’ll master it effortlessly. Before diving in, if you’re a fan of creamy desserts, you might also love our Honey Bun Cheesecake Recipe. It’s another crowd-pleaser that’s sure to impress.
Ready to uncover the secret steps to the best creme brulee recipe? Gather your ingredients, preheat your oven, and let’s get started. And, if you’re looking for more dessert inspiration, check out our guide on the Best Cheesecake Recipe. Both recipes promise to delight your taste buds and elevate your dessert repertoire.

Who Can Make This Recipe: Difficulty Level and Requirements
Making crème brûlée at home is easier than you might think. This recipe is ideal for home cooks of all skill levels, including beginners. Whether you’re a novice in the kitchen or a seasoned chef, you’ll find this dessert both accessible and rewarding to make.
Basic Kitchen Equipment Needed
To get started, you only need some basic kitchen equipment. These include:
- A medium saucepan
- A hand mixer or whisk
- 6-8 ramekins
- A water bath container (like a large baking dish or roasting pan)
- A kitchen torch (optional but recommended)
For best results, consider investing in the best crème brûlée ramekins and the best crème brûlée torch. These tools make the process smoother and ensure a perfect caramelized sugar topping.
The ingredients are also straightforward and easily accessible. You’ll need egg yolks, heavy cream, whole milk, granulated sugar, kosher salt, and vanilla extract. These staples are likely already in your pantry or available at any grocery store.
Expect to spend about 20 minutes on preparation and 25-30 minutes on cooking. Including cooling time, the total time is around 45-50 minutes. This makes it a manageable project for a weeknight treat or a sophisticated weekend dessert.
If you’re still hesitant, rest assured that this recipe is designed to be foolproof. Follow the step-by-step instructions, and you’ll be able to create a dessert that rivals those from top restaurants.
For additional tips and a more detailed guide, you can check out this excellent resource from the Chelsea’s Messy Apron. It offers insights and visual aids to help you master the art of crème brûlée.
Ready to impress your friends and family with a classic French dessert? Gather your ingredients and equipment, and let’s start making crème brûlée at home!
Ingredients Needed to Make Crème Brûlée
Now that we’ve covered the minimal equipment required, let’s dive into the heart of our classic crème brûlée recipe: the ingredients. Choosing the right ingredients is crucial for achieving that perfect, creamy texture and rich flavor that makes crème brûlée so irresistible. High-quality ingredients can make all the difference, so let’s take a closer look at what you’ll need.
The Essentials for the Best Crème Brûlée Recipe Ever
- 3 large egg yolks: These provide the rich texture and color.
- 1/2 cup (120 ml) heavy cream: A must for that luxurious creaminess.
- 1/2 cup (120 ml) whole milk: Balances the cream for the perfect consistency.
- 1/4 cup (60 g) granulated sugar: Sweetens the custard just right.
- 1/4 teaspoon kosher salt: Enhances the flavors.
- 1/2 teaspoon vanilla extract: Or better yet, crème brûlée with vanilla bean for an authentic touch.
- 1/4 cup (30 g) granulated sugar: For that iconic caramelized top.
Using high-quality ingredients, especially when it comes to the vanilla extract or vanilla bean, can significantly elevate the flavor of your classic crème brûlée recipe. Precise measurements ensure the custard sets perfectly, giving you a smooth and creamy texture every time.
Are you ready to get started with the best crème brûlée recipe ever? Gather these ingredients, and let’s move on to the fun part – making the custard!
Step-by-Step Guide on How to Make Crème Brûlée
Now that we have all the ingredients ready, it’s time to learn how to make crème brûlée. Follow these simple and precise steps to achieve the perfect crème brûlée texture and delight your taste buds.
Preparing the Mixture
Start by preheating your oven to 300°F (150°C). In a medium saucepan, whisk together the egg yolks, heavy cream, whole milk, granulated sugar, and kosher salt until well combined. Cook over medium heat, stirring constantly until the mixture thickens and coats the back of a spoon. This should take about 10-12 minutes. Remove the saucepan from the heat and stir in the vanilla extract.
Next, strain the mixture into a clean bowl to remove any egg solids. This step ensures a smooth and creamy texture, free of lumps. Pour the mixture into 6-8 ramekins or small baking dishes, filling each about three-quarters full.
Place the ramekins in a large baking dish or roasting pan. Add hot water to come halfway up the sides of the ramekins. This water bath technique helps the crème brûlée cook evenly and prevents the edges from cooking too quickly.
Bake for 25-30 minutes, or until the edges are set and the centers are still slightly jiggly. Keep an eye on them to avoid overcooking, which can result in a firm texture instead of the desired creamy consistency.
Remove the ramekins from the water bath and let them cool to room temperature. Then, cover and refrigerate for at least 2 hours or overnight. This chilling time helps the flavors meld and the custard set properly.
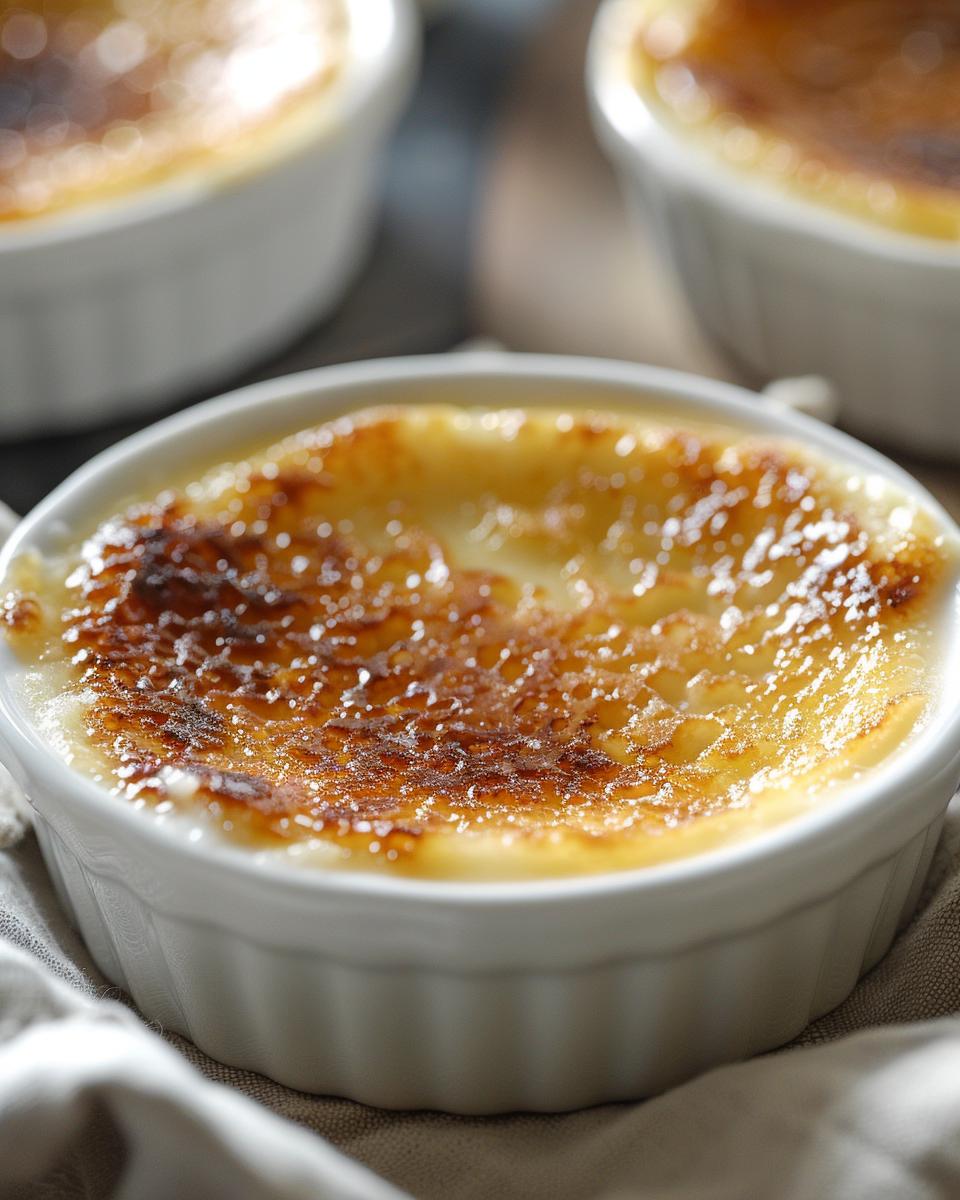
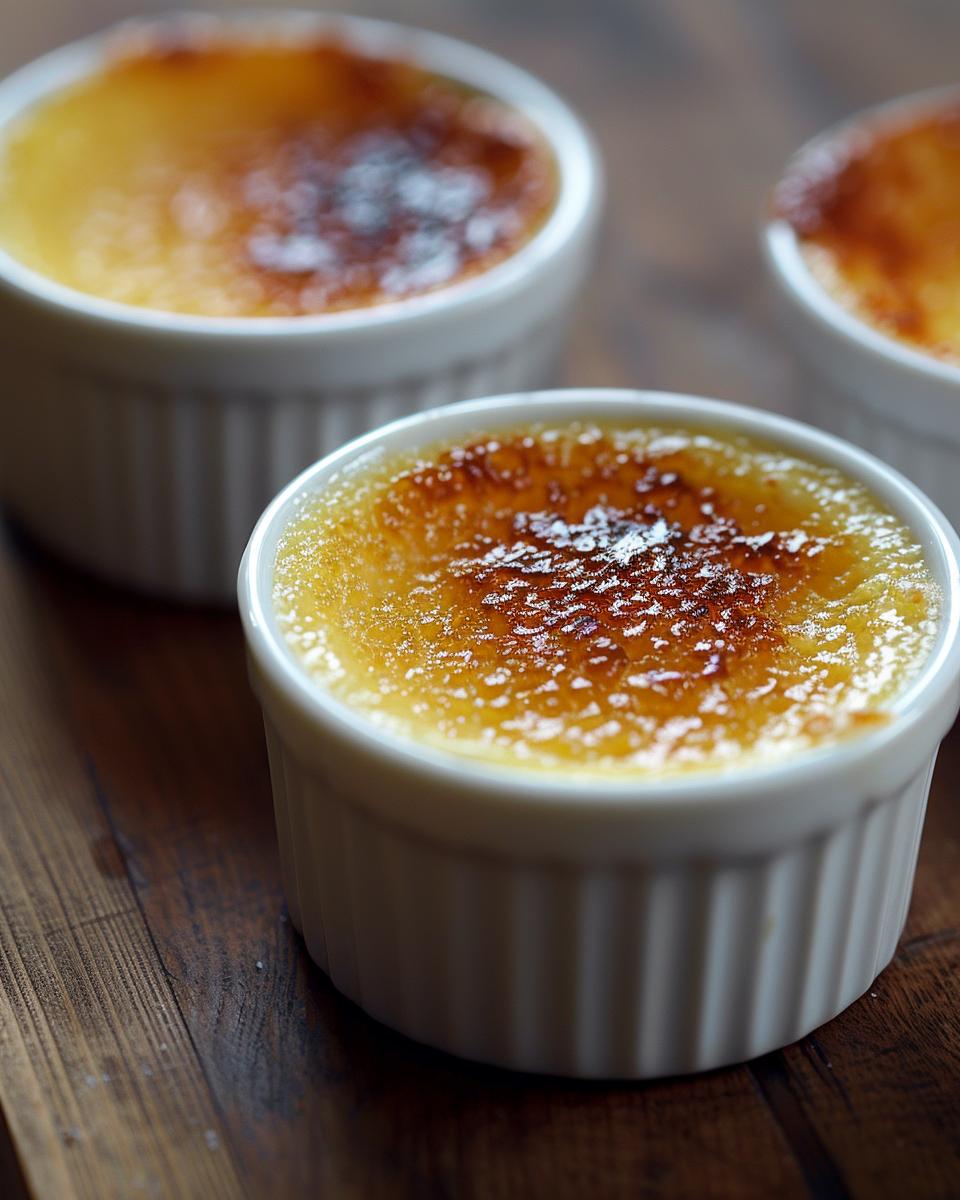
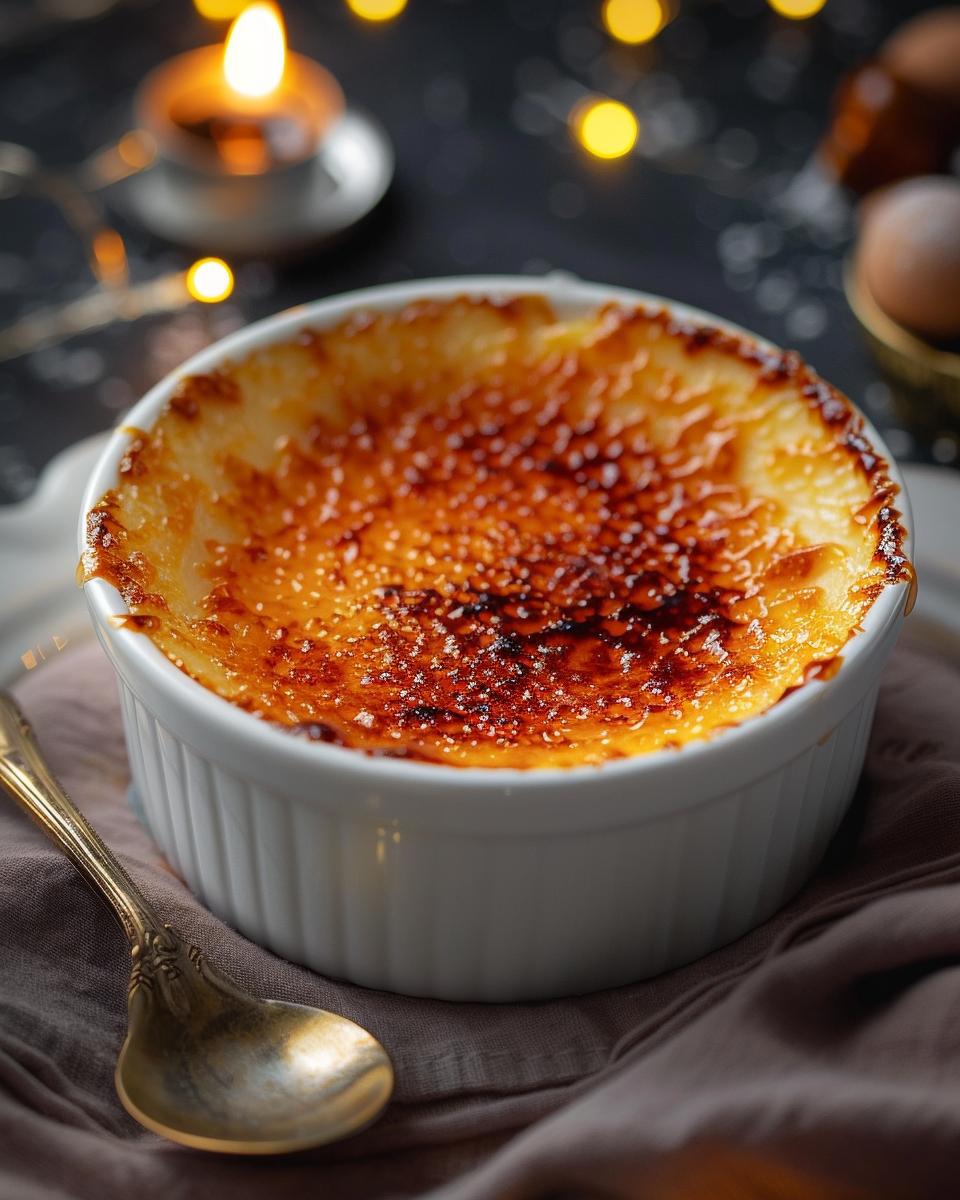
Just before serving, sprinkle a thin layer of granulated sugar over the top of each ramekin. For those wondering how to make crème brûlée without a torch, you can use your oven’s broiler. Place the ramekins under the broiler for 1-2 minutes, watching carefully to caramelize the sugar without burning it. If using a kitchen torch, hold the flame about 2 inches from the surface and move it in a circular motion until the sugar melts and turns a golden brown.
And there you have it! Follow these steps, and you’ll master how to make crème brûlée with ease, achieving that perfect crème brûlée texture every time. Enjoy your homemade dessert!
Serving and Storing Ideas and Tips
Now that you’ve mastered the steps for making crème brûlée, let’s transition to serving and storing your delicious creation. This recipe is accessible to cooks of all levels, requiring minimal cooking knowledge and experience. Here are some tips to ensure your crème brûlée is served perfectly and stored properly.
Serving the Perfect Crème Brûlée
When it comes to serving your crème brûlée, presentation and texture are key. Before serving, make sure the custard is chilled. This helps achieve the perfect contrast between the creamy base and the crispy sugar topping.
To caramelize the sugar topping, sprinkle a thin, even layer of granulated sugar over the surface. Use a kitchen torch to melt and caramelize the sugar until it forms a golden, crispy crust. If you don’t have a kitchen torch, you can use your oven’s broiler. Just be sure to watch it carefully to avoid burning.
Remember to let the caramelized sugar cool for a minute before serving. This allows it to harden, giving you that satisfying crack when you dig in with a spoon.
Consider garnishing with fresh berries or a sprig of mint for a touch of elegance. These simple additions can elevate the presentation and add a pop of color.
Feel free to experiment with different flavor profiles. A dash of lemon zest or a hint of espresso can add a unique twist to your crème brûlée.
Storing Homemade Crème Brûlée
When it comes to storing homemade crème brûlée, proper refrigeration is essential. Cover each ramekin with plastic wrap or use an airtight container to prevent the custard from absorbing any odors from the fridge.
Crème brûlée can be made in advance, making it a convenient option for entertaining. Prepare the custard and store it in the fridge for up to three days. Just wait to caramelize the sugar topping until right before serving to maintain its crispiness.
If you need to store crème brûlée for a longer period, you can freeze it. Wrap each ramekin tightly with plastic wrap and then with aluminum foil. Freeze for up to two months. To serve, thaw the crème brûlée overnight in the fridge and caramelize the sugar topping just before serving.
By following these tips, you’ll ensure your crème brûlée remains fresh and delicious, ready to impress your guests at any time.
Pro Tips for the Best Crème Brûlée Recipe
- Always use fresh, high-quality ingredients for superior flavor.
- Strain the custard mixture to remove any lumps.
- Use a water bath to ensure even cooking.
- Let the custard cool completely before chilling in the fridge.
- Sprinkle sugar evenly over the surface before caramelizing.
- Use a kitchen torch for the best caramelized sugar top.
- For a unique twist, experiment with different flavorings.
- Serve immediately after caramelizing the sugar for the crunchiest top.
- Store leftovers in the fridge for up to three days.
FAQs and Ingredient Replacement Options
Whether you’re making crème brûlée for special occasions or just for a treat, you might have some questions. Here are answers to some of the most popular queries and tips on ingredient substitutions.
Frequently Asked Questions
Q: How can I avoid common crème brûlée mistakes?
A: One key to avoiding common crème brûlée mistakes is using a water bath during baking. This ensures even cooking and prevents the custard from curdling. Additionally, make sure to strain the custard mixture to remove any lumps before baking.
Q: Can I make crème brûlée with coconut milk?
A: Yes, you can make crème brûlée with coconut milk for a dairy-free option. Substitute coconut milk for the heavy cream and milk. This gives a unique flavor twist while keeping the creamy texture.
Q: How do I get the perfect caramelized sugar top?
A: For the perfect caramelized sugar top, use a kitchen torch to evenly melt the sugar. If you don’t have a torch, you can place the ramekins under the broiler for a few minutes, but watch them closely to avoid burning.
Q: What are some cost-saving tips without compromising on quality?
A: To save on costs without compromising quality, consider buying vanilla beans in bulk or using vanilla bean paste. Additionally, using granulated sugar instead of specialty sugars for caramelizing can also help reduce costs.
Q: What common ingredients can I substitute for dietary needs?
A: For those with dietary restrictions, you can substitute coconut milk or almond milk for dairy. For a lower-sugar option, use a sugar substitute like stevia. These replacements maintain the integrity of crème brûlée while accommodating different diets.
Ingredient Replacement Options
Experimenting with different ingredients can be both fun and necessary for dietary needs. Here are some common substitutions:
- Dairy-Free: Use coconut milk or almond milk instead of heavy cream and milk.
- Low-Sugar: Substitute granulated sugar with stevia or another sugar substitute.
- Vanilla Extract: Use vanilla bean paste or vanilla beans for a richer flavor.
For more tips and a detailed crème brûlée recipe, visit Chelsea’s Messy Apron.
With these tips and substitutions, you can enjoy crème brûlée for special occasions or any day of the week without worries!

