Easy Donut Recipe for Donut Maker: Master the Ultimate Homemade Treat
- Discover a foolproof donut recipe for donut maker
- Indulge in the world of Desserts & Sweets
- Learn the secrets to perfect Baked Goods at home
Ever found yourself craving the warm, sugary embrace of a freshly baked donut? Now, imagine the delight of enjoying that same indulgence straight from your kitchen. Yes, it’s possible! With the right donut recipe for donut maker, you can transform your home into a bakery of joy.
Moreover, the journey to mastering homemade donuts is not just a quest for the ultimate treat; it’s an adventure in the realm of Desserts & Sweets. So, have you ever wondered what the secret is to those perfect, airy rings of happiness? It’s not as elusive as you might think.
Furthermore, we’re not just talking about any donuts; we’re talking about Baked Goods that will have your friends and family begging for your secret. The allure of creating something so delightful from scratch is irresistible. So, are you ready to take the plunge and master the art of the donut?
Indeed, this guide is your golden ticket. We’ll walk you through each step, ensuring your donut-making experience is as smooth as the glaze on top of your creations. So, preheat your donut maker and let’s dive into a world where every bite is a moment of pure bliss.
Getting Started with Your Mini Donut Maker
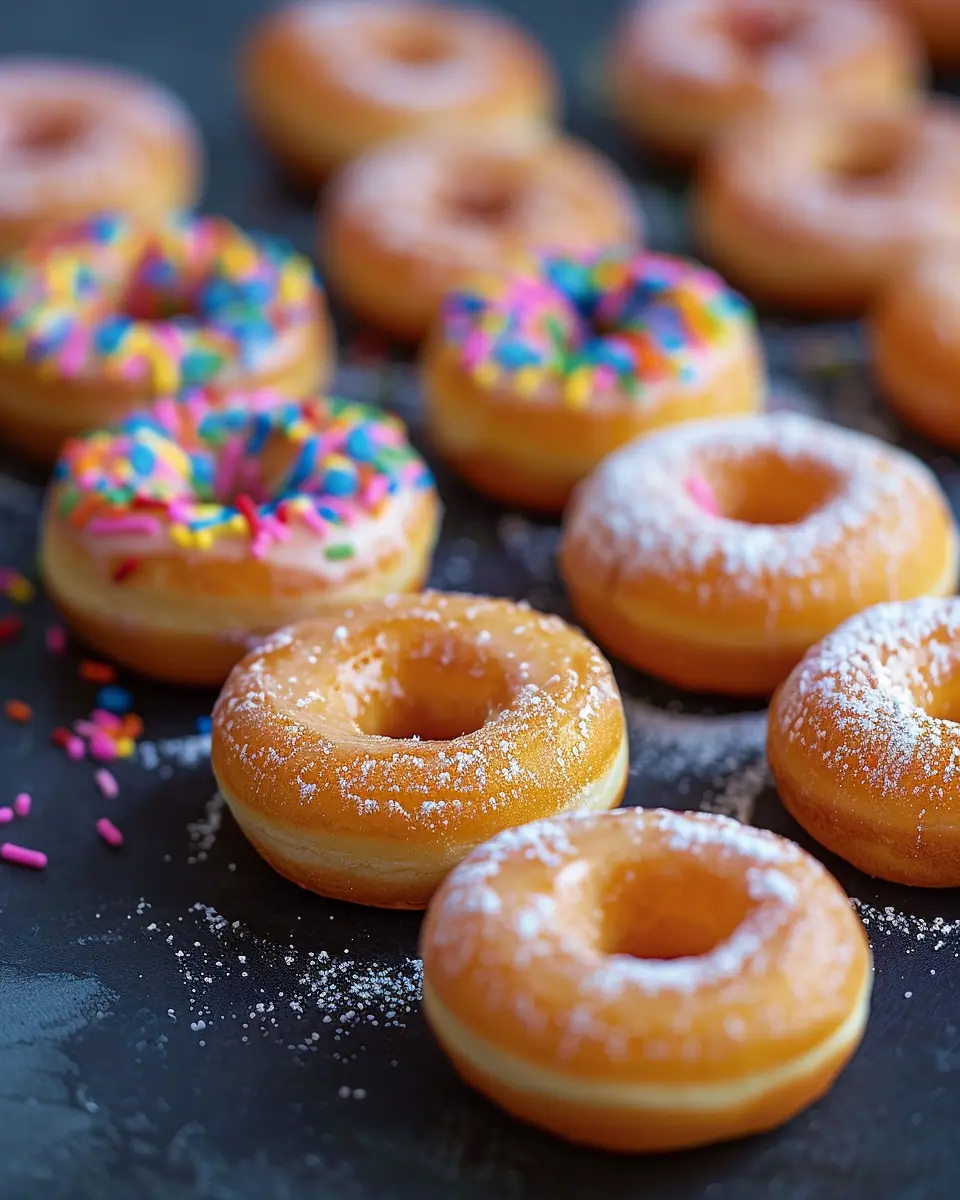
So, you’ve got your mini donut maker, and you’re ready to dive into the world of homemade mini donuts. Whether you’re a beginner or an expert in the kitchen, the beauty of the mini donut maker is its simplicity. The beginner donut maker recipe we’ll be using is straightforward, ensuring a delightful outcome every time. Ready to get started?
Mini Donut Maker Tools: What You’ll Need
Before we begin, let’s gather our tools. You’ll need:
- A mini donut maker, of course!
- Non-stick spray or brush and oil for greasing.
- Mixing bowls for your batter.
- Measuring cups and spoons for accuracy.
- A piping bag or a zip-top bag with a corner snipped off for easy filling.
- A cooling rack to let your donuts rest after baking.
- And your enthusiasm for a fun baking session!
Making donuts at home with a mini donut maker is not just about the delicious end product; it’s an enjoyable process that brings fun into your kitchen. Imagine the joy of watching your mini donuts turn golden brown and the satisfaction of decorating them to perfection. It’s a sweet project for any day of the week and a fantastic way to make memories with family and friends.
For more dessert inspiration, check out these easy dessert recipes that can complement your homemade mini donuts. Happy baking!
Essential Ingredients for Mini Donut Perfection
Having covered the simplicity of the equipment needed, let’s shift our focus to what really makes these treats a hit – the ingredients. Selecting the right Mini Donut Ingredients isn’t just a step; it’s the secret to ensuring your mini donuts are as delightful as they are adorable. Whether you’re a beginner or a seasoned baker, the quality and precision of your Donut Recipe Measurements will set the stage for success. So, are you ready to gather what you need for donut greatness?
Let’s Get Baking: Your Mini Donut Ingredient Checklist
Here’s a concise list of what you’ll need for your mini donut maker recipes:
- All-purpose flour – the foundation for a tender crumb
- Granulated sugar – to sweeten the deal
- Baking powder – for that perfect rise
- Salt – a pinch to balance the flavors
- Eggs – they bind the ingredients together
- Milk – for moisture and richness
- Unsalted butter – melted, for a buttery taste and soft texture
- Vanilla extract – a splash for classic flavor
Now, remember, the precision of your Donut Recipe Measurements is crucial. A little too much or too little can make a big difference, so measure carefully. And let’s talk quality – fresh, high-quality ingredients can elevate your mini donuts from good to ‘can’t stop at one’.
What about those with dietary restrictions? Fear not! There are plenty of Allergy-Friendly Donut Options. Swap out all-purpose flour for a gluten-free blend, use almond or oat milk in place of regular milk, and consider a flax egg as a vegan alternative. Sweet, right?
Now that you’ve got your ingredients lined up, how are you feeling? Confident? Excited? I thought so. With these essentials at the ready, you’re well on your way to whipping up some irresistible mini donuts that everyone can enjoy. Let’s turn these ingredients into magic!
Step-by-Step Guide to Crafting Delicious Mini Donuts
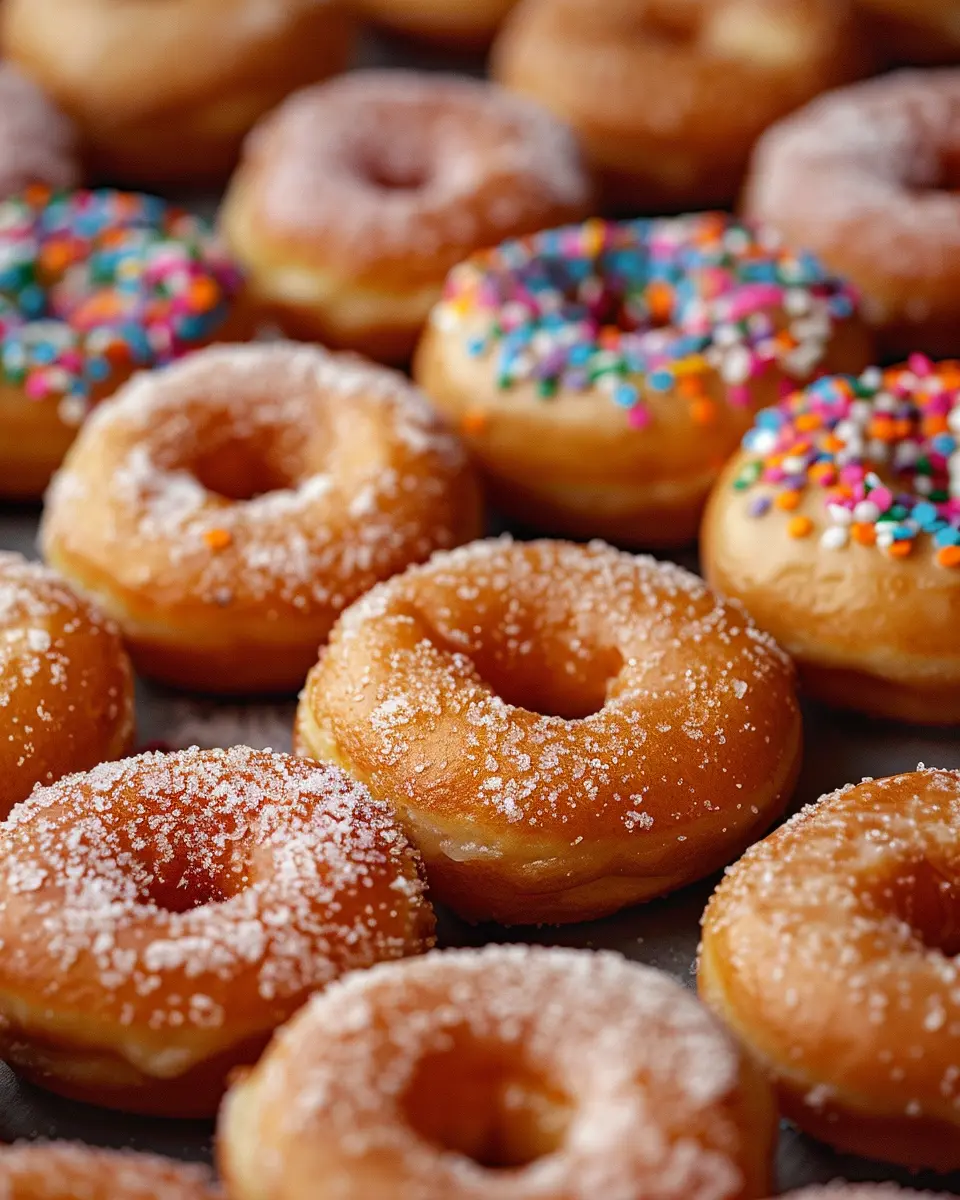
Now that you’ve got your ingredients lined up, let’s dive into the exciting world of Making Mini Donuts! Ever wondered how simple it can be to turn that Donut Maker Batter Recipe into scrumptious treats? Follow these steps, and you’ll be the mini donut maestro in no time!
- Mixing the Batter: Begin by whisking together your dry ingredients in a large bowl. In another bowl, beat the wet ingredients until well combined. Ever so gently, fold the wet mixture into the dry ingredients. What’s the secret for the right consistency? Aim for a batter that’s smooth and thick enough to hold its shape, yet still pourable. Not too runny, not too stiff – just perfect!
- Filling the Donut Maker: Preheat your mini donut maker according to the manufacturer’s instructions. Have you ever overfilled a donut mold, only to end up with donut “muffin tops”? Here’s the trick: fill each donut well about three-quarters full. This ensures your donuts will rise into that ideal, rounded shape we all love. A piping bag or a zip-lock bag with the corner snipped off can be your best friend for this task.
Tips for Perfect Mini Donuts
Keep an eye on your donuts as they cook. How do you know when they’re just right? They should be golden and spring back when lightly touched – that’s your cue! If they’re browning too quickly or cooking unevenly, check if your mini donut maker is level. Sometimes, all it takes is a slight adjustment.
- Monitoring Doneness: Most mini donut makers have a ready light, but I like to trust my senses, too. After about 4 minutes, take a peek. If they’re golden, gently lift one out to test. If it feels firm and springs back, they’re done. If not, give them a minute more, but watch closely—donuts can go from perfect to overdone in a flash.
- Troubleshooting: If your donuts are sticking, a light brush of oil on the molds before filling can work wonders. Are they too dry? Double-check your measurements, as precision is key in the Perfect Mini Donut Guide. Remember, practice makes perfect. Each batch will bring you closer to mini donut nirvana!
There you have it, your roadmap to delightful mini donuts! Why not share your success stories or your own tips for making them even better? Together, we’ll make the mini donut world even sweeter!
Serving and Storing Ideas for Mini Donuts
Now that you’ve mastered the art of crafting delightful mini donuts with your trusty donut maker, let’s smoothly transition into the equally important phase of serving and storing. Have you ever wondered how to keep those little circles of joy fresh and tasty for your next snack attack? Or perhaps you’re pondering the best way to present them to your eager guests? Worry not, as we’re about to dive into all that and more!
First things first, achieving that perfect donut consistency starts with the batter. Make sure to follow the Donut Recipe Measurements to the letter for a batter that’s just right—not too thick, not too runny. This ensures your mini donuts cook evenly and come out looking as good as they taste.
Perfecting the Mini Donut Making Process
Filling your mini donut maker might seem straightforward, but there’s a knack to it. A consistent fill level is key to perfectly shaped donuts. Overfilling can lead to a messy spillover, while underfilling gives you donuts that look like they’re on a diet. Who wants that?
Keep a close eye on your donuts as they cook. You’ll want to monitor them for that golden-brown finish that screams “I’m done!” If they’re looking a little pale or, heaven forbid, singed, you might need to adjust your cooking time. Don’t fret—troubleshooting these common issues is all part of the fun!
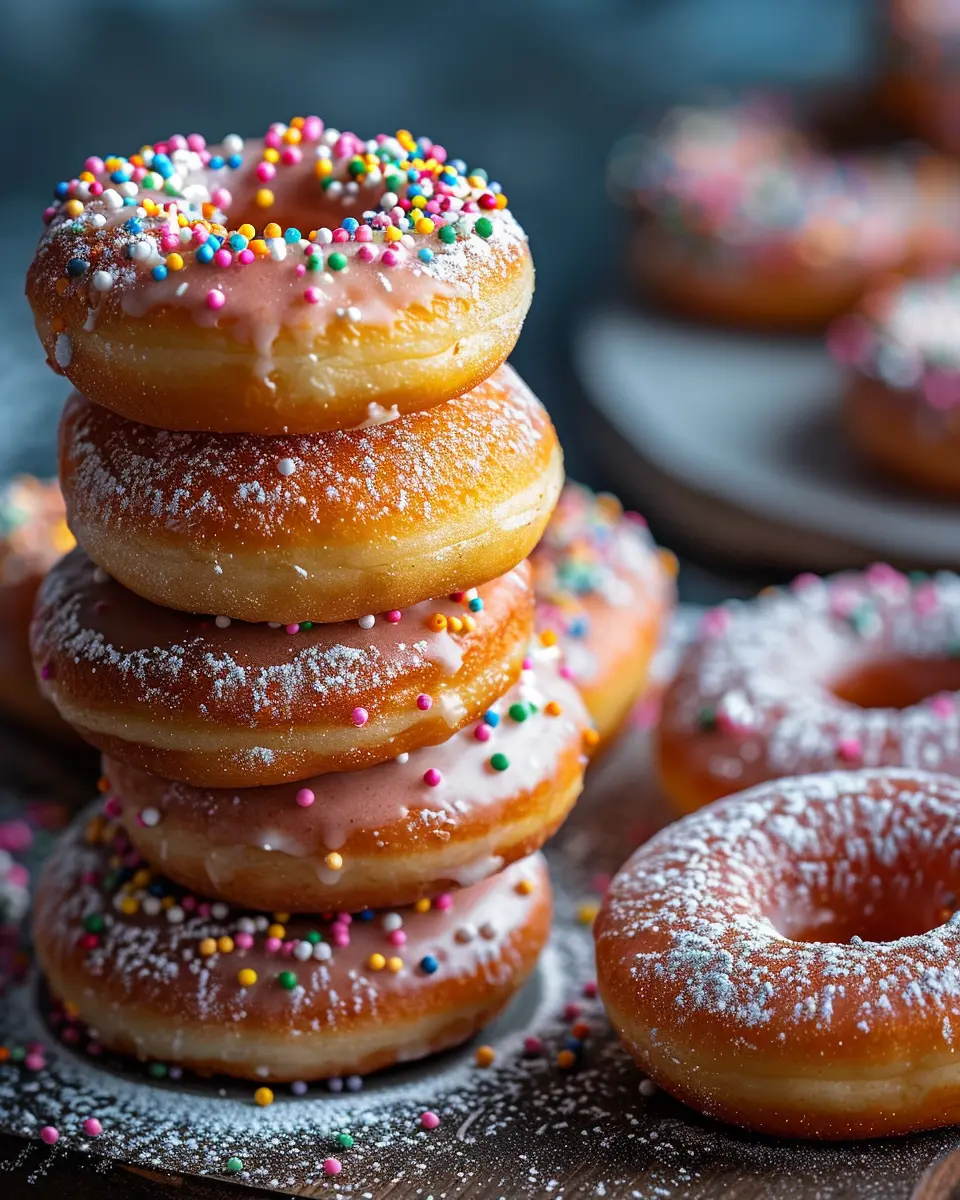
Once your mini donuts are ready, it’s time to think about presentation. Are you going for a classic dusting of powdered sugar, or maybe a drizzle of chocolate? Remember, the eyes eat first, so make it count! And if you’re catering to various needs, keep in mind Allergy-Friendly Donut Options to ensure everyone can indulge worry-free.
As for storage, an airtight container is your best friend. It’ll keep your mini donuts fresh and ready to enjoy, whether it’s hours or days later. Just make sure they’ve cooled down first to avoid any unwanted sogginess. And there you have it—serve them up with pride and store any leftovers (if there are any) with care!
Pro Tips for Mini Donut Maker Recipes
- Always preheat your mini donut maker for evenly baked goods.
- For a donut recipe for donut maker, ensure your batter is smooth.
- Additionally, fill each mold only halfway to prevent overflow.
- Moreover, use a piping bag to dispense batter cleanly and quickly.
- Furthermore, rotate the donut maker if it doesn’t heat uniformly.
- Also, let donuts cool slightly before glazing to avoid a sticky mess.
- Lastly, experiment with toppings for a personalized dessert experience.
FAQs: Perfecting Your Mini Donut Making Experience
After sharing some pro tips, let’s dive into the most common questions you’ve been asking about making those delightful mini donuts. Whether you’re curious about Donut Ingredient Substitutions, looking for ways of Saving Money on Donuts, or in need of Homemade Mini Donut Tips, we’ve got you covered!
Mini Donut Maker Recipes Q&A
Q1: Can I make mini donuts without eggs for dietary reasons?
A: Absolutely! For vegan options or egg allergies, try using mashed bananas, applesauce, or a commercial egg replacer. These substitutions not only cater to dietary needs but can also add a unique flavor to your donuts. For specific recipes, check out this whole grain donut recipe.
Q2: How can I save money when making mini donuts at home?
A: To keep costs down, buy ingredients like flour and sugar in bulk, and use pantry staples like baking powder and spices. Also, consider making your own fillings and glazes from scratch, which is more economical and often tastier!
Q3: Any tips for enhancing the flavor and texture of my homemade mini donuts?
A: Definitely! For a flavor boost, add a pinch of nutmeg or cinnamon to your batter. To improve texture, ensure your baking powder is fresh and don’t overmix the batter. Overmixing can lead to tough donuts.
Baked Goods Q&A
Q1: Is there a healthier flour I can use for my baked mini donuts?
A: Whole wheat or almond flour can be great alternatives for a healthier twist. Remember, these flours may change the texture, so you might need to adjust your recipe slightly.
Q2: How can I ensure my baked goods stay moist and don’t dry out?
A: To keep your baked goods moist, don’t overbake them. Also, incorporating ingredients like yogurt or sour cream can help maintain moisture. For more inspiration, Baker Bettie’s mini donut recipe includes tips for keeping your donuts perfectly moist.


