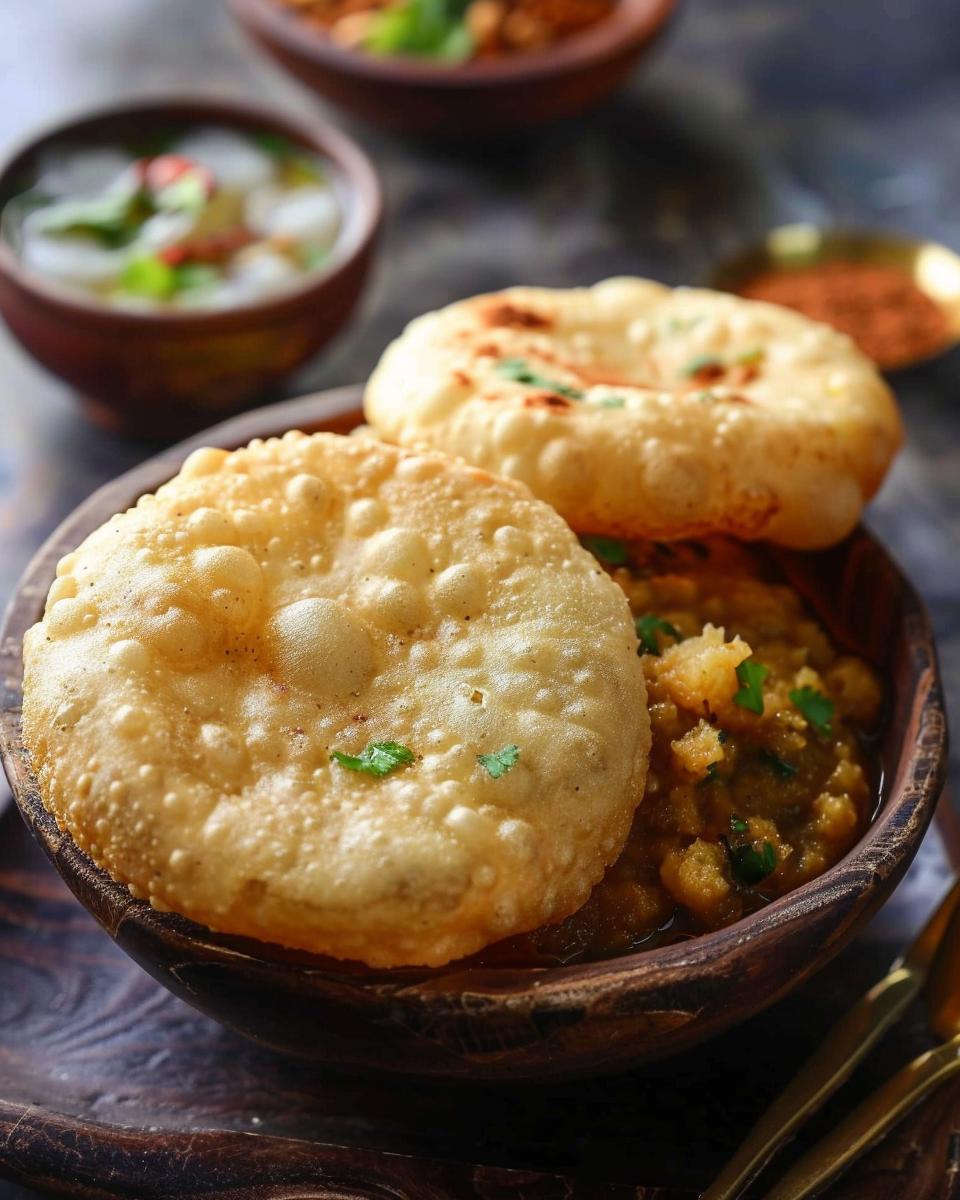
Halwa Puri Recipe: Step-by-Step Guide to a Delicious Pakistani Breakfast
Are you ready to dive into a halwa puri recipe that promises to transform your morning meals? This traditional South Asian breakfast will not only tantalize your taste buds but also offer a feast that’s both unique and satisfying. How does a plate full of sweet, velvety halwa and fluffy, deep-fried puris sound to start your day?
In this recipe:
- Discover the secrets to perfect halwa.
- Learn how to make puris puff up beautifully.
- Get tips on serving the ultimate breakfast combo.
Indeed, this dish is a celebration of flavors and textures. So, let’s embark on a culinary journey. Here, you’ll find step-by-step guidance to create this beloved breakfast from scratch. Moreover, if you’ve savored the Chick-fil-A Chicken Noodle Soup, you’ll adore the depth and richness of halwa puri. And for fitness enthusiasts, this dish can be a delightful weekend indulgence after a week of Anabolic French Toast. Let’s get cooking!
Now, gather your ingredients. We’ll begin with the halwa, crafting it to sweet perfection. Next, we’ll tackle the puris. These need to be light, airy, and golden. Finally, we’ll set the table for a breakfast that’s both hearty and exotic. Are you as excited as we are? Let’s get started!
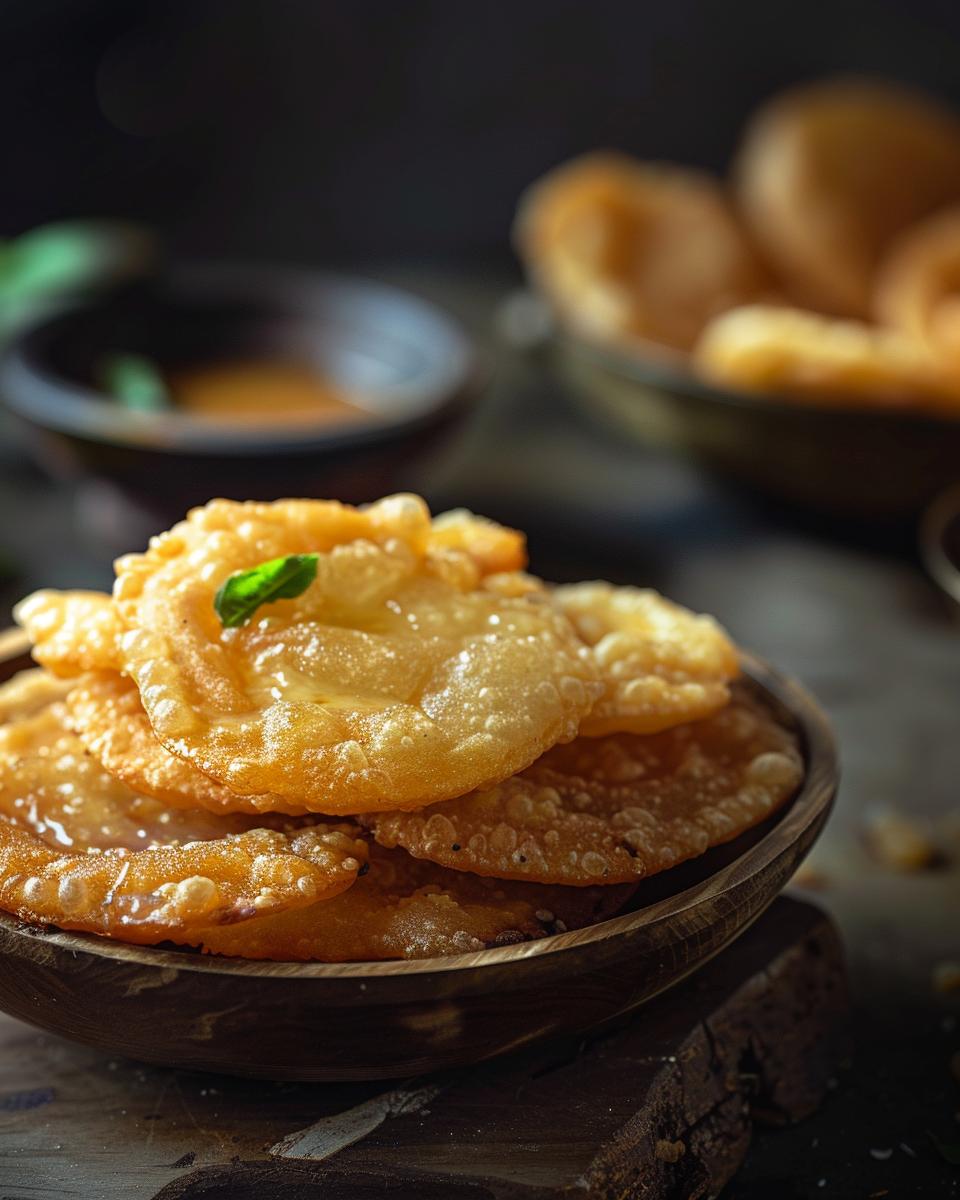
Halwa Puri: A Culinary Adventure for All
So, who can whip up a delectable halwa puri recipe Pakistani style? Anyone! Whether you’re a novice in the kitchen or a veteran foodie, this recipe is for you. It’s an easy halwa poori recipe that’s both fun and rewarding to make. Now, let’s examine what goes into creating this mouthwatering dish.
Firstly, understand that making halwa puri is a commitment—it’s not your average quick breakfast fix. The complexity? Moderate. The reward? Immense. From kneading dough to simmering a fragrant halwa, the process can take a couple of hours. But the end result? Worth every minute. Especially when you see those puris puffing up to golden perfection in hot oil.
Essential Tools for Your Halwa Puri Mastery
Before you begin, ensure you have the right tools on hand. Here’s what you’ll need:
- A deep frying pan or kadai for those puris
- A non-stick saucepan for the halwa
- A rolling pin to flatten the dough
- A slotted spoon to safely remove puris from oil
- Measuring cups and spoons for precision
Assemble these items, and you’re ready to tackle this culinary challenge. Should you seek guidance or inspiration, explore the rich resources available online. For instance, the detailed walkthrough at Chai and Churros can be incredibly helpful.
Ultimately, this halwa puri recipe is more than just a meal; it’s a labor of love. Whether you’re preparing it for a festive occasion or a leisurely weekend breakfast, the flavors and textures of halwa puri are sure to captivate your palate. So, roll up your sleeves, and let’s embark on this adventure together!
Essential Ingredients for Authentic Halwa Puri
Now that we’ve covered the simplicity of the equipment needed, let’s delve into the heart of this Pakistani halwa puri recipe: the ingredients. The right ingredients are the soul of any dish, and halwa puri is no exception. To recreate that authentic taste and texture, it’s crucial to gather high-quality ingredients. Ready to embark on this culinary adventure?
Gathering Your Halwa Puri Pantry
For the halwa, you’ll need:
- 1 cup semolina (sooji)
- 1 cup sugar
- 4 cups water
- 1/2 cup ghee or unsalted butter
- Cardamom pods and a pinch of saffron (optional for aroma)
- Dry fruits like almonds and cashews for garnish
For the puri, gather:
- 2 cups all-purpose flour (substitute with whole wheat for a healthier twist)
- Water for kneading
- A pinch of salt
- Oil for deep frying
Don’t forget the chana for that complete halwa puri chana recipe experience:
- 1 cup chickpeas, soaked overnight
- 1 onion, finely chopped
- 1 tomato, pureed
- Spices like cumin, coriander powder, turmeric, and garam masala
- Salt to taste
- Green chilies and coriander for garnish
Remember, the quality of your ingredients will speak volumes in your final dish. Opt for fresh, organic produce where possible, and use pure ghee for that authentic flavor. Are you ready to start cooking?
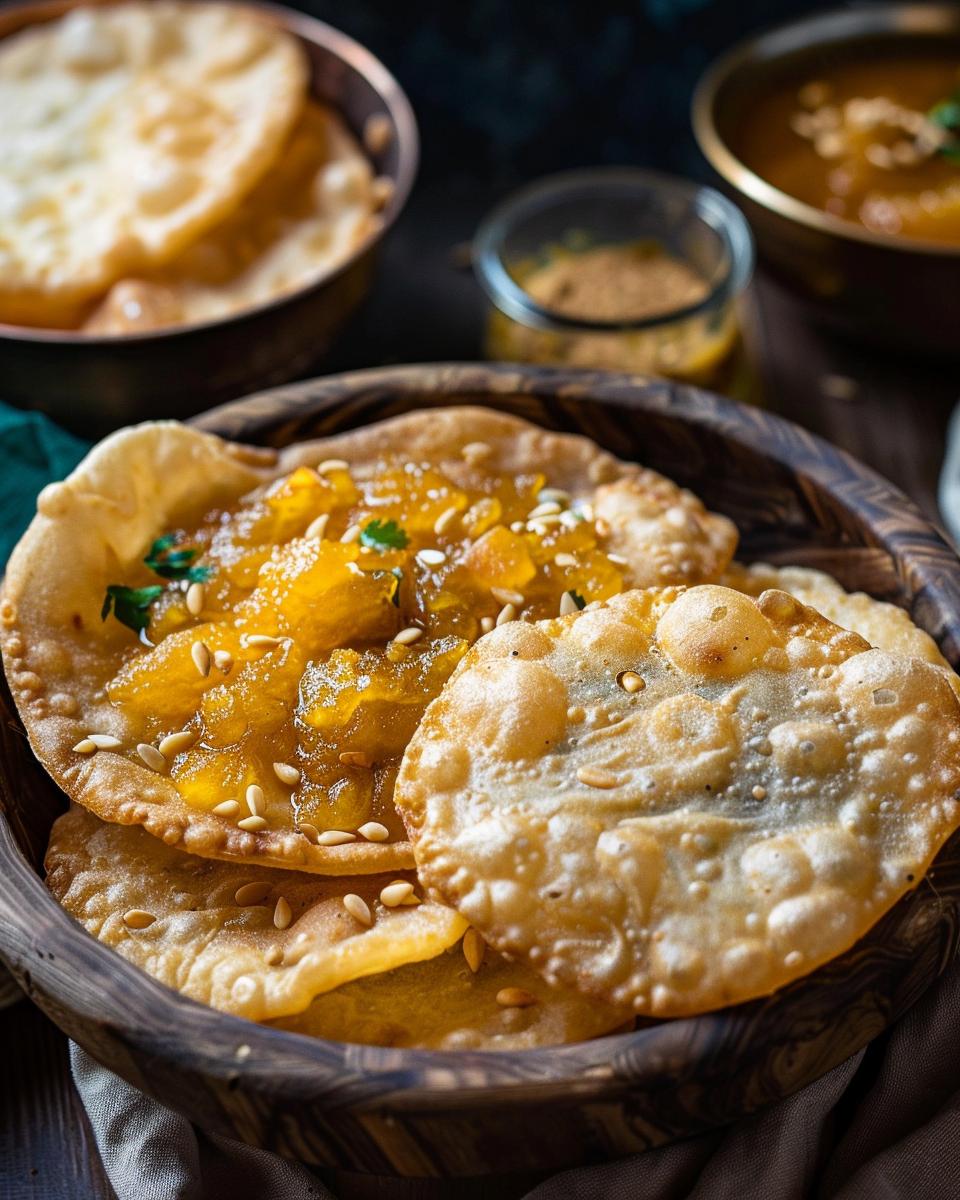
Step-by-Step Guide to Preparing Halwa Puri
Now that we’ve gathered all our ingredients, let’s dive into the heart of cooking. Are you ready to master the art of making the best halwa puri recipe right in your kitchen? Follow these steps closely, and you’ll be on your way to a delightful breakfast feast!
Preparing the Perfect Halwa
Begin by gently melting ghee in a pan. Gradually add semolina, stirring constantly to ensure it doesn’t stick or burn. Once it turns golden brown, infuse it with cardamom’s aroma. Next, pour in sugar and water, and here’s a pro tip: maintain a low flame to achieve that glossy, perfect consistency. Keep stirring until the mixture thickens and ghee oozes out from the sides. Your halwa is now ready to be garnished with nuts and served warm.
Frying Golden Crispy Puris
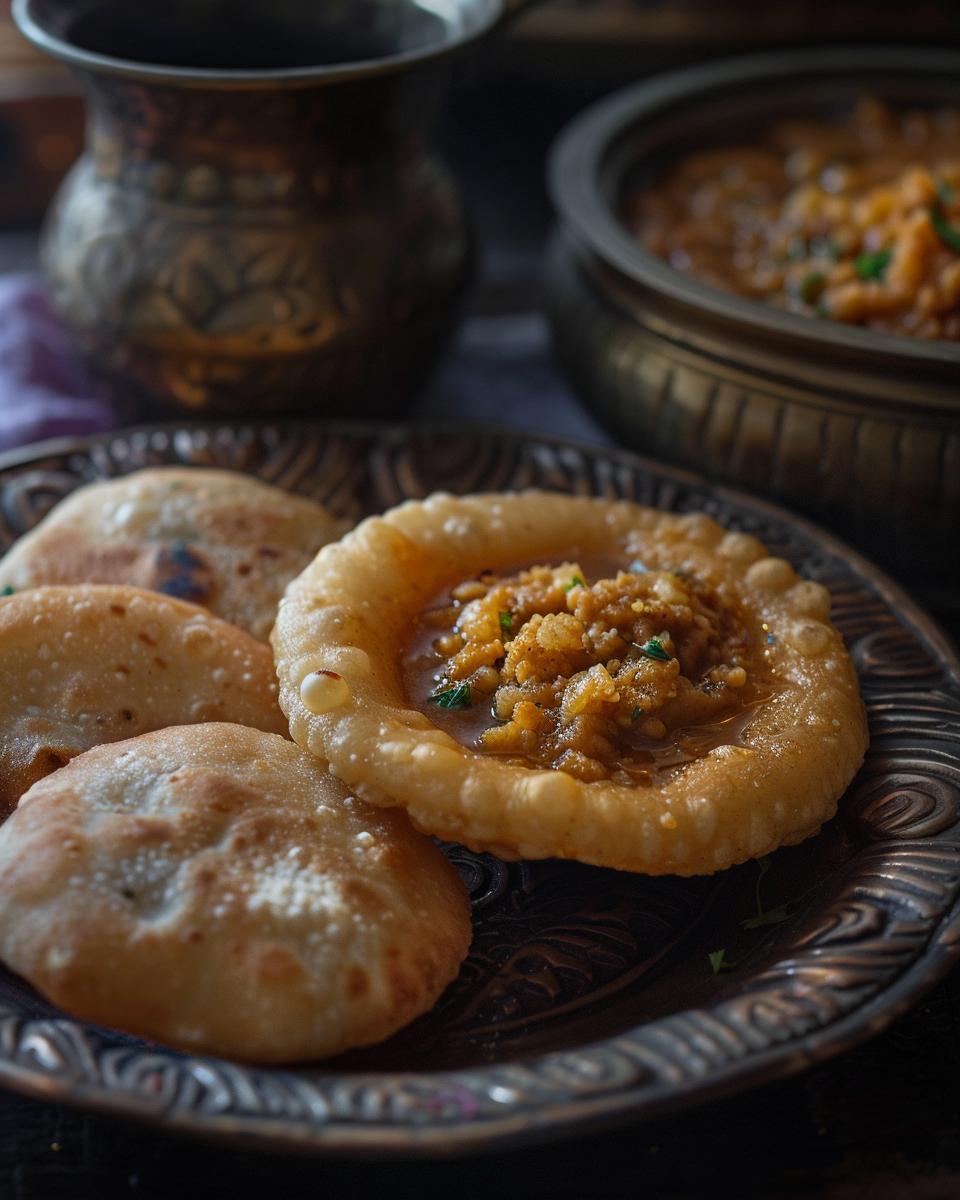
Let’s move on to the puris. Have you ever wondered how to get that iconic puff and crispiness? The secret lies in the dough’s texture and the oil’s temperature. Knead the dough until it’s smooth, then let it rest. When rolling out the puris, aim for even thickness to ensure uniform cooking. Heat oil in a deep pan – it should be hot, but not smoking. Slide in the puri and gently press with a slotted spoon. It should sizzle and puff up, turning into a beautiful golden brown. Drain on a paper towel to remove excess oil.
While your puris are resting, why not prepare a savory side? Chana masala is a classic accompaniment. Boil chickpeas until tender, then simmer in a tomato-based gravy spiced with garam masala, cumin, and coriander. The robust flavors of chana masala beautifully complement the sweetness of halwa and the crispiness of puris.
For a visual guide, don’t forget to check out the halwa puri recipe video by Ijaz Ansari. His halwa puri recipe by Ijaz Ansari is a treasure trove of tips and tricks that can help you perfect this dish.
There you have it, folks – a recipe of halwa puri that’s sure to impress. Serve hot, and watch as your family and friends marvel at your culinary skills. Enjoy your homemade feast!
Serving Suggestions and Preservation Tips for Halwa Puri
Now that you’ve mastered the art of making this delightful halwa puri breakfast recipe, let’s talk about the best part – serving and savoring it! Whether you’re a beginner or a seasoned cook, these tips will ensure your halwa puri is enjoyed just as it should be.
Perfecting Your Halwa Puri Presentation
For that perfect consistency in your halwa, remember to keep stirring the mixture on a low flame until it reaches a silky texture. Wondering about halwa puri serving tips? Serve the halwa warm, allowing its aromatic cardamom scent to entice your guests. As for the puris, roll them evenly and fry until they puff up, turning a golden hue that promises a crispy bite. Don’t forget to drain them well to keep that crunch!
But what’s halwa puri without its savory counterpart? Whip up some mouth-watering chana masala to add that spicy kick to your meal. The combination of sweet halwa, crispy puri, and spicy chana is what makes this dish a beloved breakfast staple.
Storing and Reheating Your Halwa Puri
Leftovers? No problem! Storing halwa puri is simple. Keep the halwa in an airtight container in the fridge, and it’ll stay good for a few days. For the puris, wrap them in aluminum foil and refrigerate. When you’re ready for round two, what’s the best way to reheat puri? Just pop them in a preheated oven or toaster until they’re warm and crispy again.
Whether it’s a special occasion or a cozy family breakfast, these serving and storing tips will ensure your halwa puri is always at its best. Now, who’s ready to dig in?
Pro Tips for Mastering the Halwa Puri Recipe
- Start with a hot pan to ensure your puris puff up beautifully.
- For the halwa, use a non-stick pan to prevent sticking and burning.
- Additionally, stir the halwa frequently for an even, smooth texture.
- When rolling puris, keep the dough covered to avoid drying out.
- Moreover, use ghee for frying puris to add a traditional flavor.
- For a balanced taste, pair the sweetness of halwa with spicy chana masala.
- Finally, serve halwa puri hot for the best breakfast experience.
Frequently Asked Questions About Making Halwa Puri
Got questions about making halwa puri? You’re not alone! Let’s dive into some of the most common queries and expert advice to ensure your cooking experience is as delightful as this classic dish.
Ingredient Substitutions and Savings
Q: What are some ingredient replacement options for dietary restrictions?
A: If you’re looking for halwa puri recipe in Urdu or halwa puri recipe in Hindi, you might encounter ingredients that don’t fit your dietary needs. For gluten-free puris, try using a mix of rice flour and chickpea flour. For a vegan halwa, replace ghee with coconut oil. Always remember to adjust spices and flavors to your preference!
Q: How can I save money when buying ingredients for halwa puri?
A: To save money, look for money savings options like buying in bulk or choosing local, seasonal ingredients. For instance, if suji (semolina) is expensive, use wheat flour for the halwa. Additionally, check out Amazon for deals on bulk spices and pantry staples.
Q: My puris aren’t puffing up properly. What am I doing wrong?
A: Ensure your dough is not too stiff and is rested well. The oil temperature is crucial; it should be medium-hot. If it’s too low, puris won’t puff, and if it’s too high, they’ll burn. A test piece of dough should rise steadily to the top when the oil is ready.
Q: Can I make halwa puri ahead of time?
A: Halwa can be made in advance and reheated, but puris are best enjoyed fresh. However, you can prep the dough ahead of time and fry the puris just before serving. For more tips, check out Chai and Churros.
Q: Is there a quicker version of the halwa puri recipe?
A: For a quicker halwa, use pre-roasted suji and for puris, use ready-made dough available at some stores. Remember, the taste may vary from the traditional recipe. For the authentic halwa puri recipe in Hindi, patience is key!

