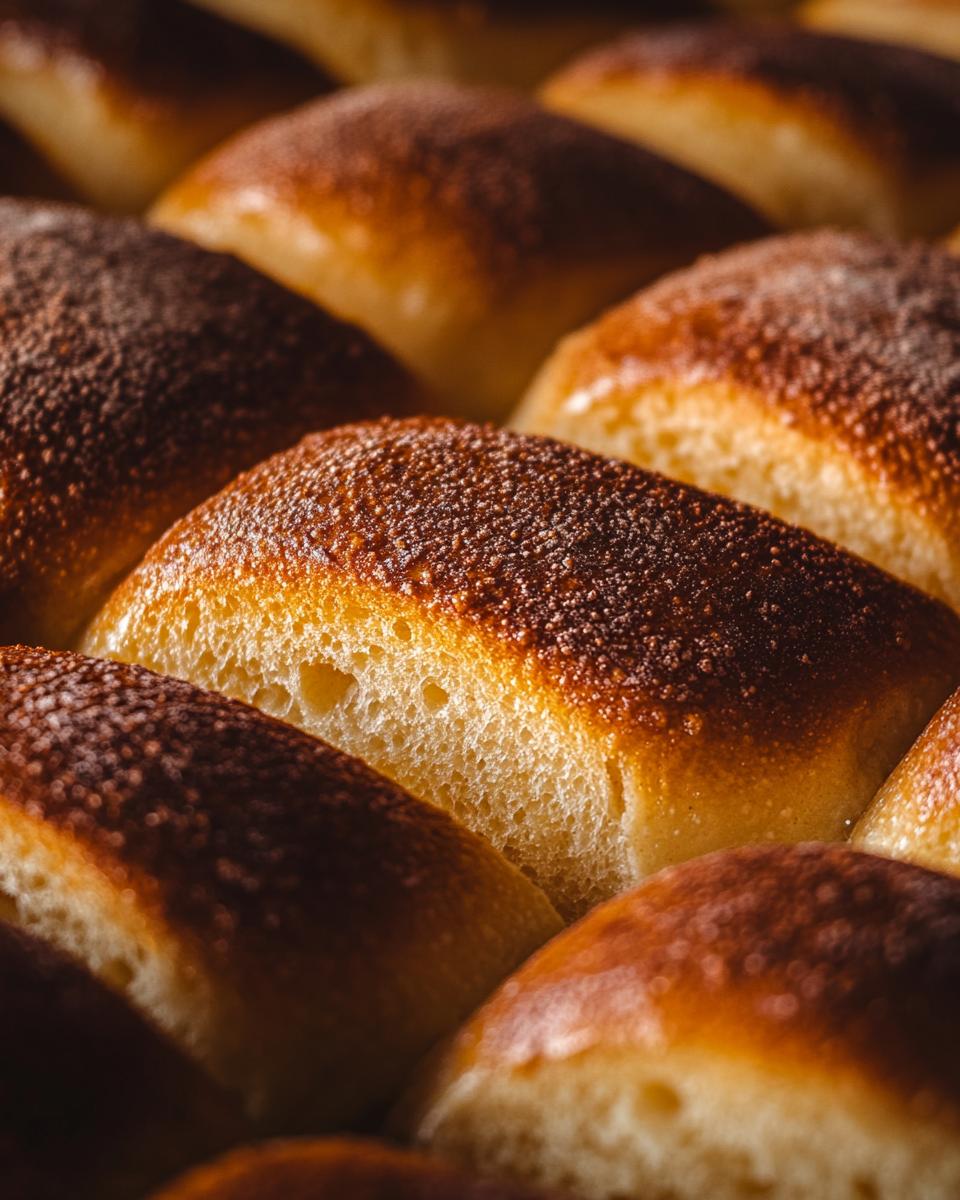
Kitchenaid Bread Recipe: Master the Art of Perfect Homemade Loaves
Welcome to our KitchenAid bread recipe guide! Have you ever dreamed of baking perfect homemade loaves? With our KitchenAid bread recipe, you can achieve bakery-quality results right at home. This guide will walk you through the steps to create a delicious loaf with ease. Whether you’re a seasoned baker or a beginner, our tips and tricks will ensure your bread turns out perfect every time.
In this recipe:
- Ingredients and measurements
- Step-by-step instructions
- Pro chef tips for success
- Frequently asked questions
Imagine the aroma of freshly baked bread wafting through your kitchen. With a KitchenAid stand mixer, kneading dough becomes effortless, giving you more time to enjoy the process. If you love experimenting with different bread recipes, don’t miss our sourdough sandwich bread recipe. It’s a must-try for any bread enthusiast.
For those who enjoy a wholesome breakfast, check out our whole wheat pancake recipe. It’s the perfect complement to your homemade bread, ensuring a nutritious start to your day.
Let’s get started on your journey to baking the perfect loaf. Follow our simple steps, and you’ll be a bread-making pro in no time!
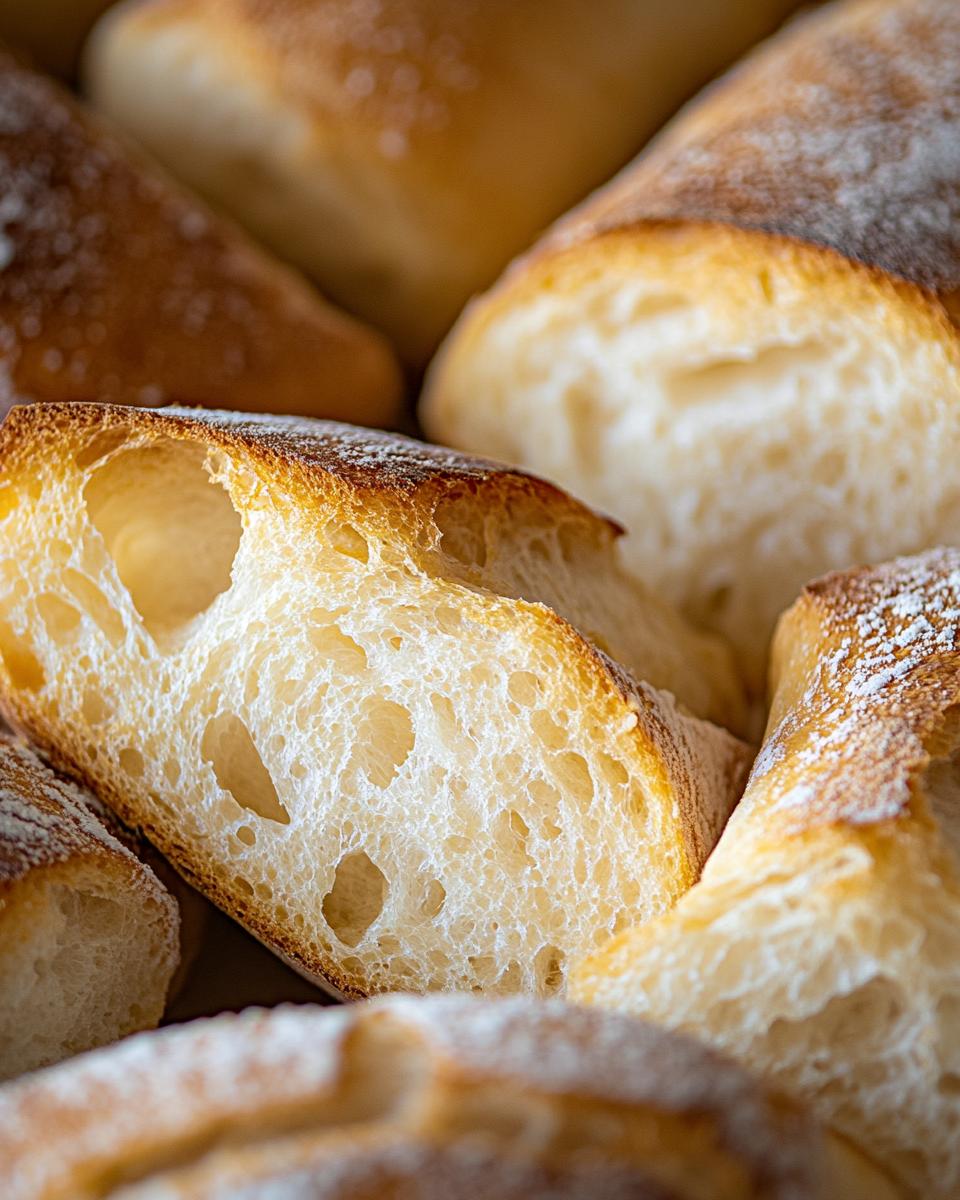
Who Can Make This Recipe and What You Need
This KitchenAid bread recipe is ideal for both beginners and seasoned bakers. Whether you are just starting out or have years of baking experience, using a KitchenAid mixer for bread simplifies the process. The difficulty level ranges from easy to moderate, making it accessible for anyone with basic baking knowledge.
Essential tools for this recipe include:
- KitchenAid stand mixer
- Dough hook attachment
- Mixing bowls
- Measuring cups and spoons
- Loaf pan
Using a KitchenAid Mixer for Bread
Bread making with a KitchenAid mixer is straightforward and efficient. The stand mixer, equipped with a dough hook attachment, handles the heavy lifting of kneading, ensuring consistent results every time. This method is perfect for those who find traditional hand-kneading tiring or time-consuming.
When making bread in a KitchenAid stand mixer, the machine does most of the work. You simply need to monitor the dough’s consistency and add ingredients as required. This approach not only saves time but also ensures the dough is perfectly kneaded, which is crucial for a well-risen loaf.
If you are new to bread making or looking to refine your skills, check out this helpful guide on tips for making bread with a stand mixer. It provides valuable insights and techniques to enhance your baking experience.
In summary, this recipe is designed to be accessible and enjoyable for everyone. With the right tools and a KitchenAid stand mixer, bread making becomes a breeze. So, gather your ingredients, set up your mixer, and let’s get baking!
The Ingredients Needed to Make KitchenAid Bread
Transitioning from the equipment needed to make this bread recipe, let’s dive into the essentials: the ingredients. Choosing the right ingredients is crucial to achieve the perfect KitchenAid bread. Even though this recipe is simple and accessible, the quality of the ingredients will make a significant difference in the final product.
Basic Ingredients for KitchenAid Bread
Here’s a quick overview of what you’ll need to get started. These ingredients are typically found in most kitchens, making this bread recipe using KitchenAid straightforward and convenient:
- 3 cups all-purpose flour
- 2 teaspoons active dry yeast
- 1 teaspoon salt
- 1/2 cup warm water
- 1/2 cup milk
- 2 tablespoons unsalted butter, softened
- 1 large egg, beaten
- 1 teaspoon sugar
To add your personal touch, consider incorporating some optional add-ins. These can elevate your best KitchenAid bread recipes with yeast to a whole new level. Think about adding:
- Herbs: rosemary, thyme, or oregano
- Seeds: sunflower, flax, or sesame seeds
- Dried fruits: raisins, cranberries, or apricots
It’s important to use fresh yeast and high-quality flour for the best results. Fresh yeast ensures that your bread rises properly, while high-quality flour contributes to the bread’s texture and flavor. By carefully selecting your ingredients, you’ll create a KitchenAid white bread recipe that is both delicious and satisfying. Have you ever tried making artisan bread using a KitchenAid mixer with these add-ins? It’s a game changer!
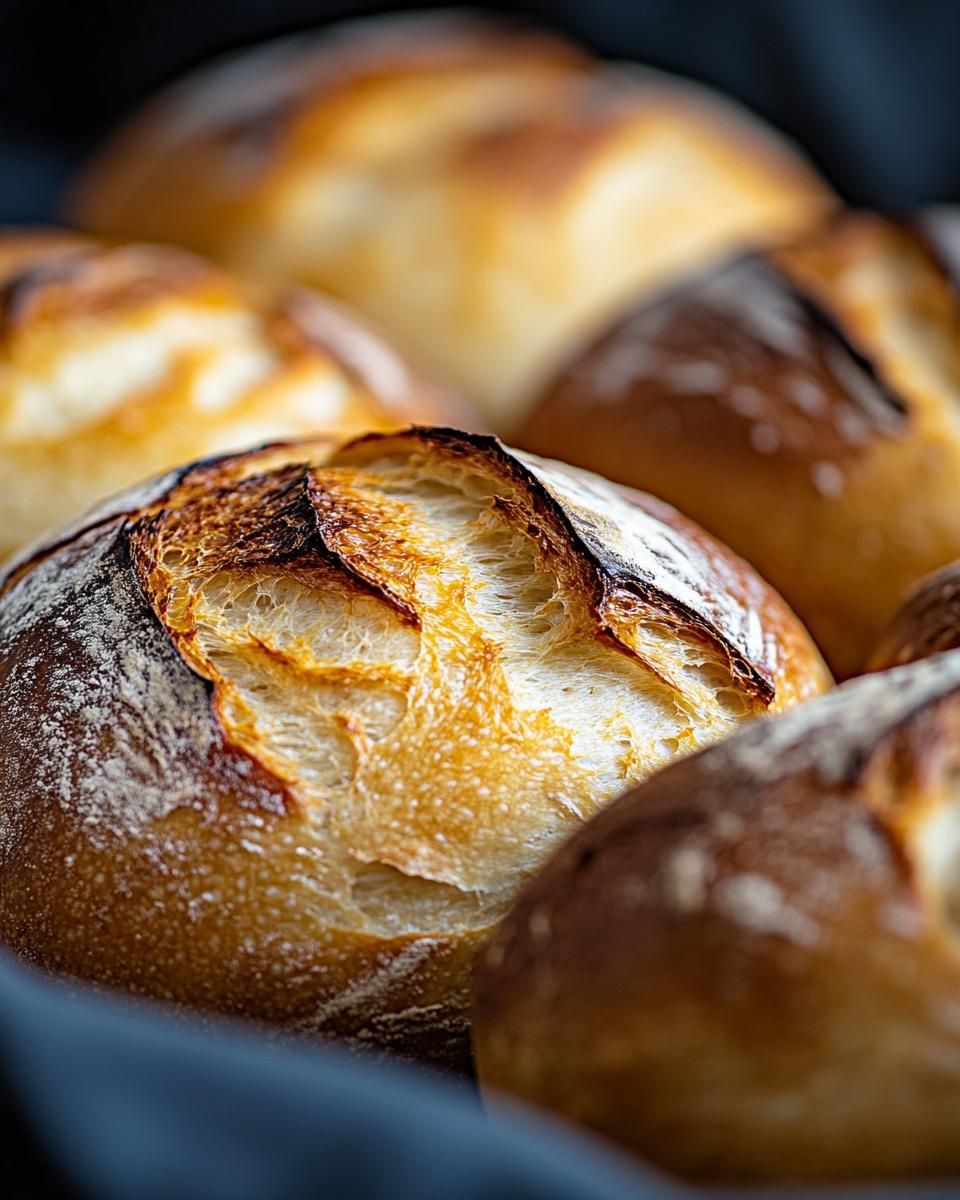
Step-by-Step Guide on How to Make KitchenAid Bread
Now that we’ve gathered all our ingredients, let’s dive into the process of making this delicious KitchenAid bread. Follow these simple steps, and you’ll have a perfect loaf in no time.
Step 1: Start by combining 1 cup of flour, 2 teaspoons of active dry yeast, 1 teaspoon of salt, and 1 teaspoon of sugar in your KitchenAid mixer bowl. This forms the base of your bread dough in the KitchenAid mixer.
Step 2: Next, add 1/2 cup of warm water, 1/2 cup of milk, and 2 tablespoons of softened unsalted butter to the mixture. Use the mixer on a low setting, mixing until a smooth batter forms. This is the beginning of making dough with the KitchenAid stand mixer.
Adding and Kneading the Dough
Step 3: Gradually add the remaining flour, about 1/2 cup at a time. Continue mixing until a soft dough forms. Use the dough hook attachment for this step. Knead the dough using the mixer for 5-7 minutes. The dough will become smooth and elastic. This is the critical part where kneading dough in the KitchenAid ensures the right texture.
Step 4: Once kneaded, place the dough in a lightly oiled bowl and cover it with plastic wrap. Let it rise in a warm place for 1-2 hours until it doubles in size. This will give your bread the perfect rise.
Step 5: After the dough has risen, preheat your oven to 375°F (190°C). Punch down the dough to release any air bubbles. Shape it into a loaf and place it in a greased 9×5-inch loaf pan.
Step 6: Cover the pan with plastic wrap and let the dough rise again for 30-45 minutes or until it reaches the top of the pan. This second rise is crucial for a fluffy texture.
Step 7: Remove the plastic wrap and bake the bread in the preheated oven for 30-35 minutes, or until the top is golden brown. This final step completes your KitchenAid bread recipe easy and straightforward.
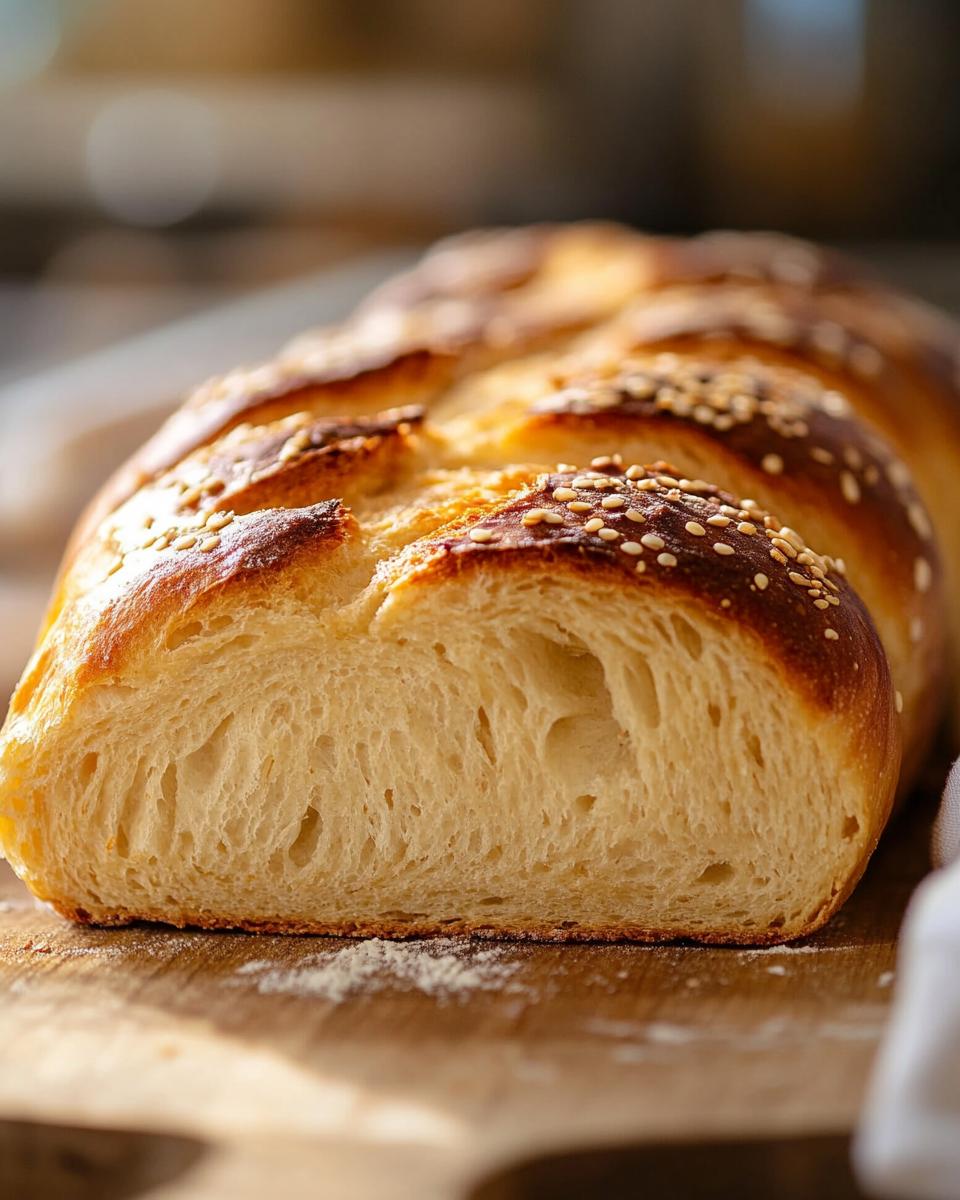
Once baked, remove the bread from the oven and let it cool on a wire rack for at least 30 minutes before slicing. Enjoy your freshly baked bread, made effortlessly with your KitchenAid stand mixer!
Serving and Storing Ideas and Tips
Now that you’ve mastered the step-by-step guide on making your homemade bread using a KitchenAid mixer, it’s time to move on to the next crucial steps: serving and storing. Whether you’re a seasoned baker or trying out this easy bread recipe with a KitchenAid mixer for the first time, these tips will ensure your bread remains fresh and delicious.
Serving Your Homemade Bread
Freshly baked bread is a treat on its own. Slice it while it’s still slightly warm and enjoy it with a pat of butter. Pair it with your favorite soups or stews for a hearty meal. If you’re hosting, this bread can be a delightful addition to any dinner table.
For a gourmet touch, try serving it with flavored butters or dips. Consider making garlic bread by toasting slices with some garlic butter. The possibilities are endless, and the best bread to make in a KitchenAid is versatile enough to complement any dish you have in mind.
Storing Your Bread
Proper storage is key to maintaining the freshness of your bread. Once your bread has cooled completely, store it in an airtight container. This helps to keep it moist and prevents it from becoming stale too quickly.
For short-term storage, keep your bread at room temperature. It should stay fresh for up to three days. If you need to store it for a longer period, consider freezing it. Wrap the bread tightly in plastic wrap and then place it in a freezer bag. This easy bread recipe for a KitchenAid mixer freezes well and can be stored for up to three months.
When you’re ready to enjoy your frozen bread, simply let it thaw at room temperature. You can also warm it up in the oven for a few minutes to bring back that freshly baked taste.
With these serving and storing tips, your KitchenAid bread recipe easy enough for any level of baker will always be a hit. Remember, the joy of homemade bread is not just in the making but also in the way you serve and savor it. Enjoy your baking adventure!
Pro Tips for Perfecting Your KitchenAid Bread Recipe
- Always use fresh, active yeast for the best rise.
- Measure ingredients accurately using a kitchen scale.
- Preheat your oven for at least 15 minutes.
- Use a thermometer to check water temperature; it should be around 100°F.
- Gradually add flour to avoid a dense dough.
- Let the dough rise in a warm, draft-free spot.
- Brush the loaf with melted butter for a golden crust.
- Cool the bread completely before slicing to prevent crumbling.
- Store in a bread box to retain moisture and freshness.
- Experiment with add-ins like herbs, nuts, or seeds for variety.
FAQ – Ingredient Replacements, Money-Saving Options, and Tips
Let’s dive into some frequently asked questions about ingredient replacements and money-saving tips when making bread with your KitchenAid mixer.
Ingredient Replacements
Q: Can I substitute all-purpose flour with whole wheat or rye flour?
A: Absolutely! You can use whole wheat or rye flour to add unique flavors and nutritional benefits to your bread. When using whole wheat flour, consider using 50% whole wheat and 50% all-purpose flour to ensure the bread remains light and airy. Rye flour can be more dense, so start with a small percentage, like 25%, and adjust based on your preference.
Q: Can I use vegetable oil instead of butter?
A: Yes, you can substitute vegetable oil for butter in your bread recipe. This is a budget-friendly option and can also make the bread slightly softer. Use the same amount of vegetable oil as you would butter. The flavor might be a bit different, but the texture will remain delicious.
Q: What other liquids can I use instead of milk?
A: You can use water, almond milk, or soy milk as substitutes for cow’s milk in your bread recipe. Each will slightly change the flavor and texture, but they all work well. If using water, keep in mind the dough might be a bit less rich.
Money-Saving Options and Tips
Q: How can I ensure my dough rises properly?
A: To ensure your dough rises properly, make sure your yeast is fresh and not expired. Use warm water (around 100°F) to activate the yeast. Additionally, let the dough rise in a warm, draft-free area. Covering the bowl with a damp cloth can help maintain moisture and warmth.
Q: How can I prevent my bread from being too dense?
A: To prevent dense bread, avoid over-kneading the dough. Use your KitchenAid mixer with a dough hook attachment for even kneading. Also, ensure you measure your ingredients accurately. Adding too much flour can make the dough heavy. Lastly, allow the dough to rise fully before baking.
For more detailed tips on making bread with a stand mixer, check out this helpful guide from KitchenAid.
By following these tips and substitutions, you’ll be able to create delicious bread every time, whether it’s a whole wheat bread made in your KitchenAid mixer, a sourdough bread, or even a classic French bread recipe.

