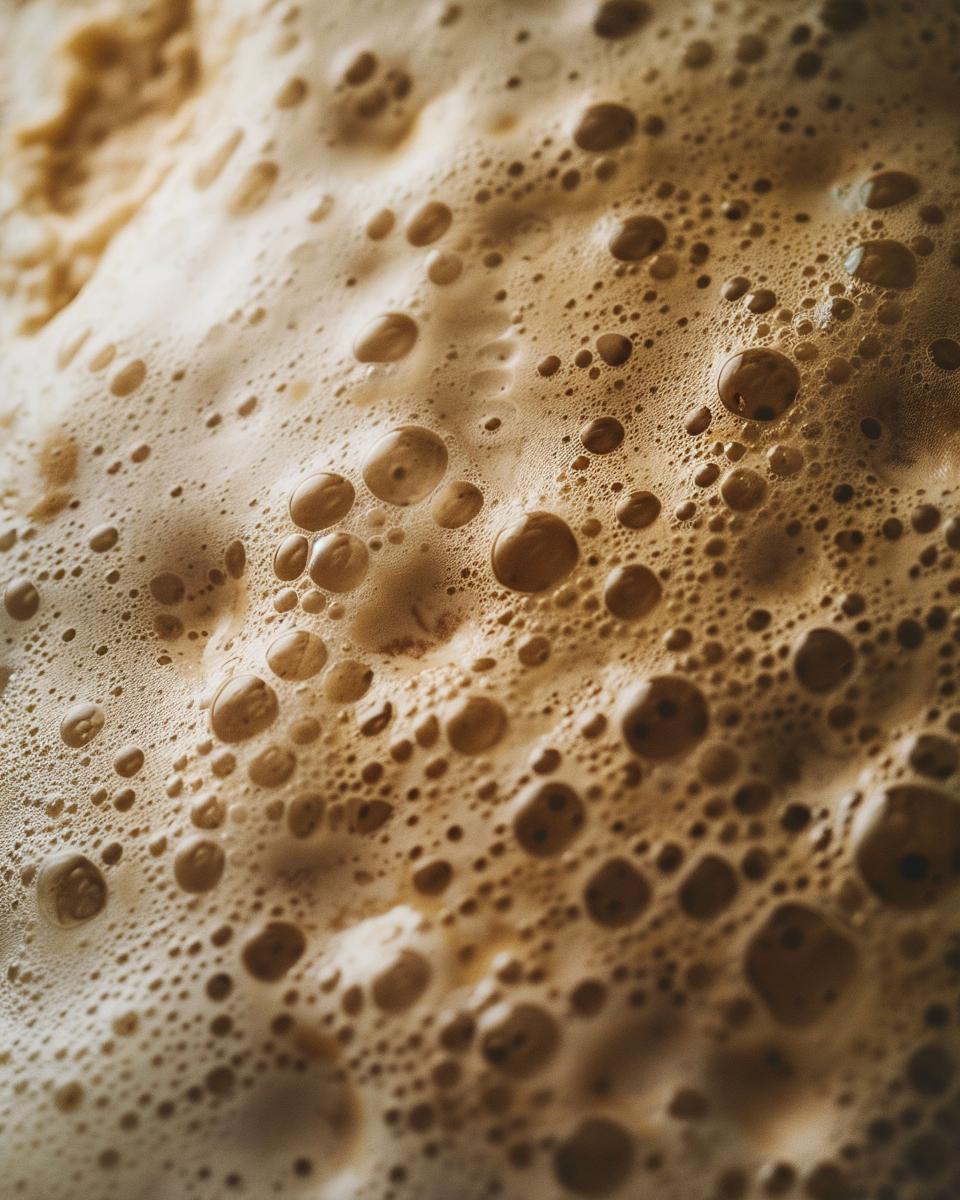
Sourdough Starter Recipe: Transform Your Baking Forever
Are you ready to elevate your baking game? A well-crafted sourdough starter recipe can transform your homemade bread into a bakery-quality masterpiece. Whether you’re a beginner or a seasoned baker, creating your own sourdough starter is a rewarding experience. Let’s dive into the basics of this essential baking skill and get you started on your journey to delicious, tangy sourdough bread.
In this recipe:
- Ingredients needed for your starter
- Step-by-step instructions
- Tips for maintaining your starter
- Troubleshooting common issues
Creating a sourdough starter from scratch is simpler than you might think. With just a few ingredients and some patience, you can cultivate a living culture that will enhance your baking forever. Not sure what to do with your starter once it’s ready? Check out our easy sourdough bread recipe that doesn’t require a Dutch oven. Or, if you’re in the mood for something different, try our sourdough English muffins for a tangy twist on a classic breakfast item.
Ready to get started? Keep reading for a comprehensive guide to making your own sourdough starter from scratch. From the initial mix to the maintenance phase, we’ve got you covered. Happy baking!
Who Can Make This Recipe and What You Need
Good news! This beginner’s guide to sourdough is perfect for anyone, regardless of baking experience. Whether you’re a novice baker or a seasoned pro, you’ll find this recipe to be straightforward and rewarding. Creating a sourdough starter is a beginner-friendly task that requires minimal effort but delivers big on flavor.
Essential Tools for Success
Before you dive in, make sure you have the right tools on hand. Here’s a quick list of the best tools for sourdough baking you’ll need:
- Glass or ceramic container: Ideal for observing the fermentation process.
- Measuring cups: Accurate measurements are key to success.
- Mixing spoon: A sturdy spoon to combine your ingredients smoothly.
Using a sourdough starter jar designed specifically for this purpose can make the process even easier. These jars often come with measurements etched on the side, which can be incredibly helpful.
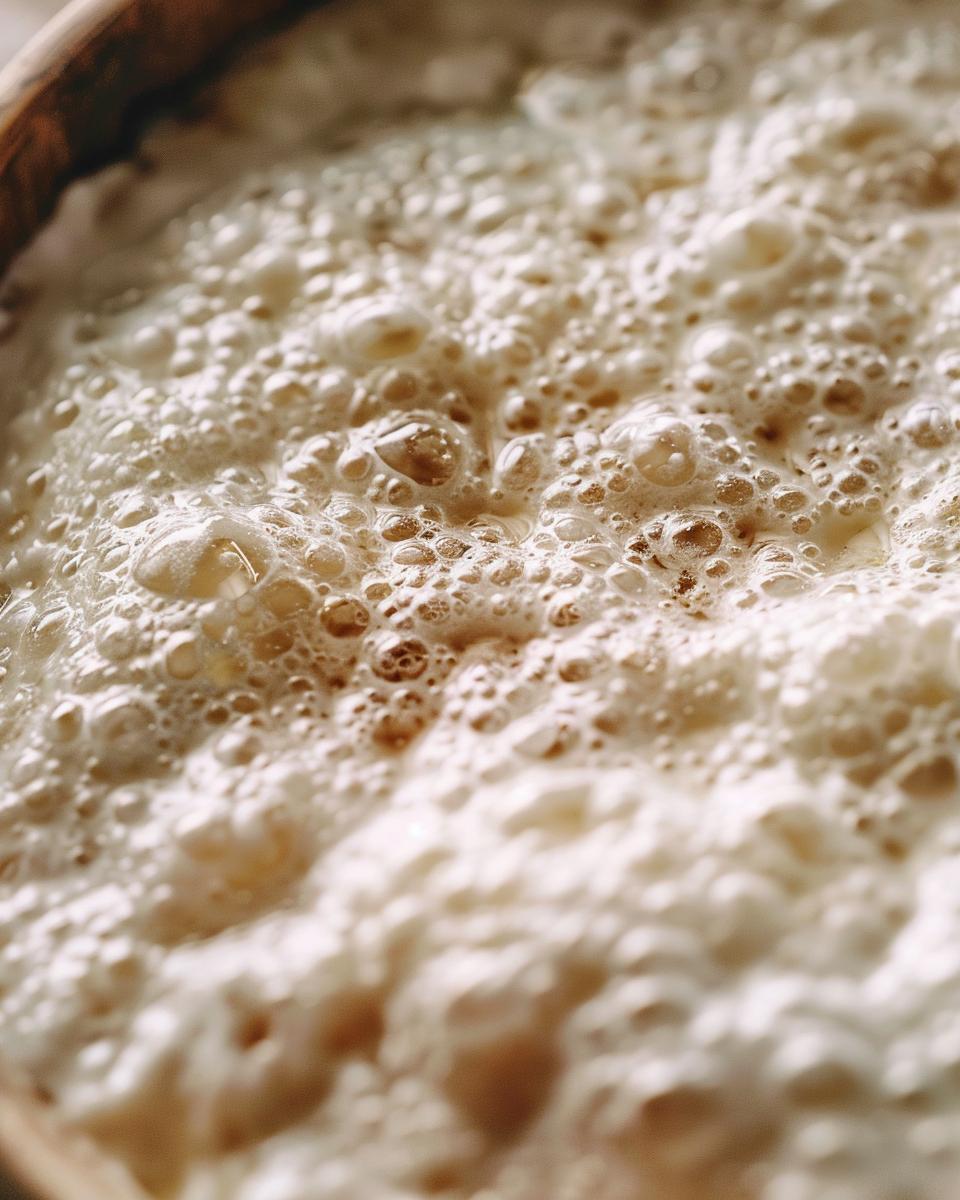
The ideal environment for a sourdough starter is a warm, draft-free area in your kitchen. Aim for a consistent room temperature of 70°F to 75°F (21°C to 24°C). This allows the natural yeast and bacteria to thrive, ensuring your starter becomes active and bubbly.
By setting up your tools and creating the right environment, you set yourself up for sourdough success. Ready to start your sourdough journey? Gather your tools and ingredients, and let’s get baking!
The Ingredients Needed
Now that we’ve talked about the minimal equipment required, let’s move on to the ingredients. Choosing the right ingredients is crucial for achieving the perfect sourdough starter. The beauty of this recipe is its simplicity, using only two basic ingredients that you probably already have in your kitchen. Let’s dive into the specifics!
Basic Ingredients for Your Sourdough Starter
1/2 cup (120ml) of warm water (around 90°F to 100°F or 32°C to 38°C): The temperature of the water is important as it activates the wild yeast in the flour. Too hot, and you’ll kill the yeast; too cold, and it won’t activate properly.
1/2 cup (60g) of unbleached, all-purpose flour or bread flour: This is the foundation of your sourdough starter. Both types of flour work well, but each brings different qualities to your starter. Using a sourdough starter with all-purpose flour will give you a milder flavor, while a sourdough starter with bread flour offers a more robust texture and taste.
Optional: Consider experimenting with different types of flour for sourdough to achieve varied flavors and textures. Rye flour, whole wheat flour, or even a blend can bring unique characteristics to your starter.
So, what’s the best flour for sourdough? It truly depends on your personal preference and the flavor profile you’re aiming for. Whether you opt for a sourdough starter with all-purpose flour or a sourdough starter with bread flour, these simple ingredients will set you on the right path to baking delicious sourdough bread.
Step-by-Step Guide on How to Make a Sourdough Starter
Now that we’ve gathered our ingredients, let’s dive into the exciting process of making a sourdough starter from scratch. Follow these straightforward steps to create a robust sourdough starter for bread that will elevate your baking game.
Day 1: Getting Started
Begin by mixing 1/2 cup of warm water with 1/2 cup of flour in a clean glass or ceramic container. Make sure the water is warm, around 90°F to 100°F (32°C to 38°C), for the best results. Stir until it forms a smooth, thick batter. Cover the container loosely with a cloth or plastic wrap and let it sit at room temperature. This initial step kick-starts the fermentation process.
The sourdough starter water ratio is crucial here, so ensure a 1:1 ratio for consistency.
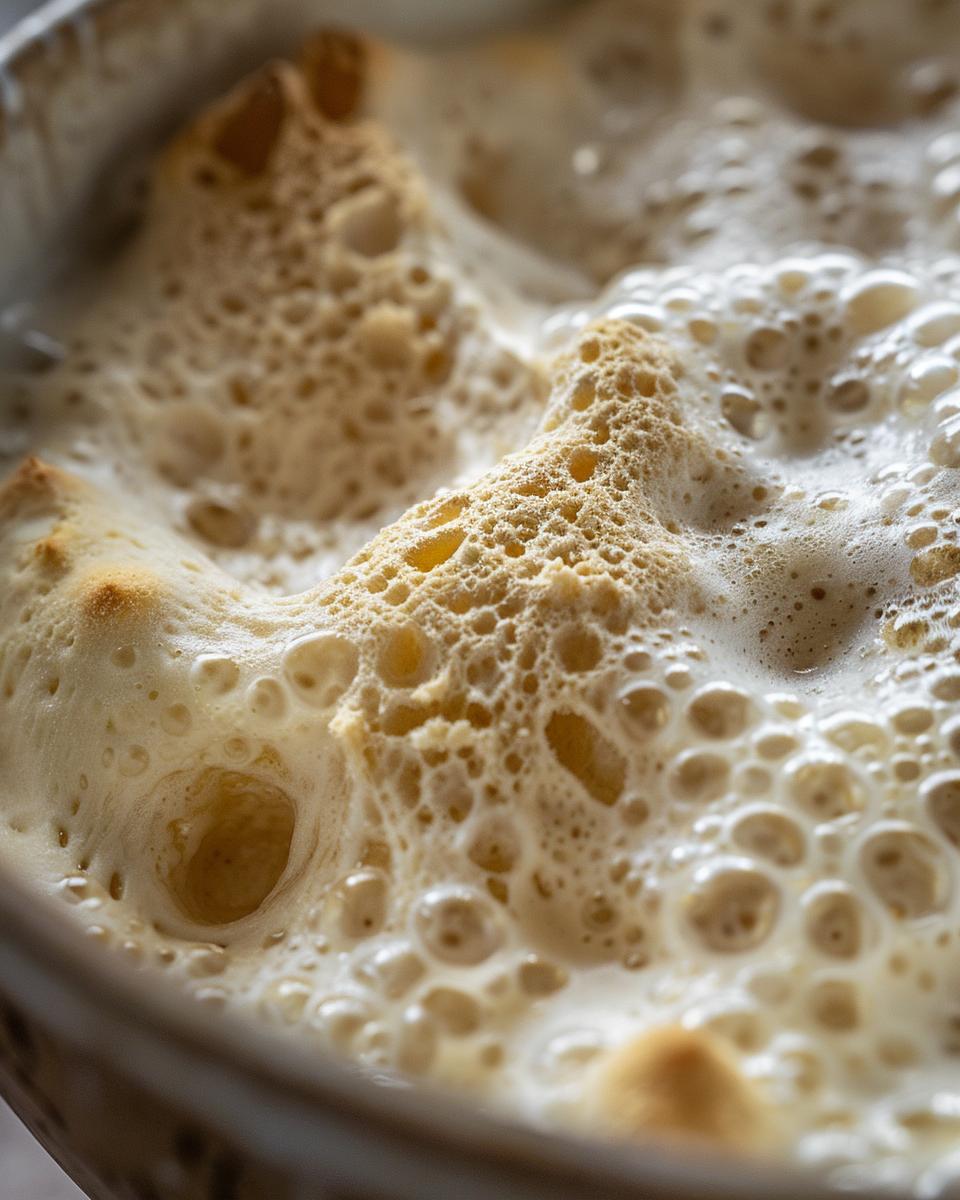
Check the mixture after 24 to 48 hours. You’re looking for bubbles on the surface, which indicate that the wild yeast and bacteria are active. If you see bubbles, congratulations! You’re on the right track.
On Day 2, it’s time to check for bubbles. These bubbles are signs that the fermentation process has begun. If you don’t see bubbles right away, don’t worry. It might take a bit longer, depending on your environment.
From Day 3 to Day 7, you’ll need to establish a sourdough starter feeding schedule. Every day, discard half of the starter and feed it with fresh flour and water. This step is crucial for developing a healthy and active starter.
Here’s a quick rundown of the daily process:
- Discard half of the starter. This helps to prevent the starter from becoming too large and unmanageable.
- Feed the starter. Add 1/2 cup of flour and 1/2 cup of warm water, maintaining the sourdough starter water ratio of 1:1.
- Mix well. Ensure the flour and water are fully incorporated into the starter.
- Cover and let it rest. Keep it at room temperature to continue the fermentation process.
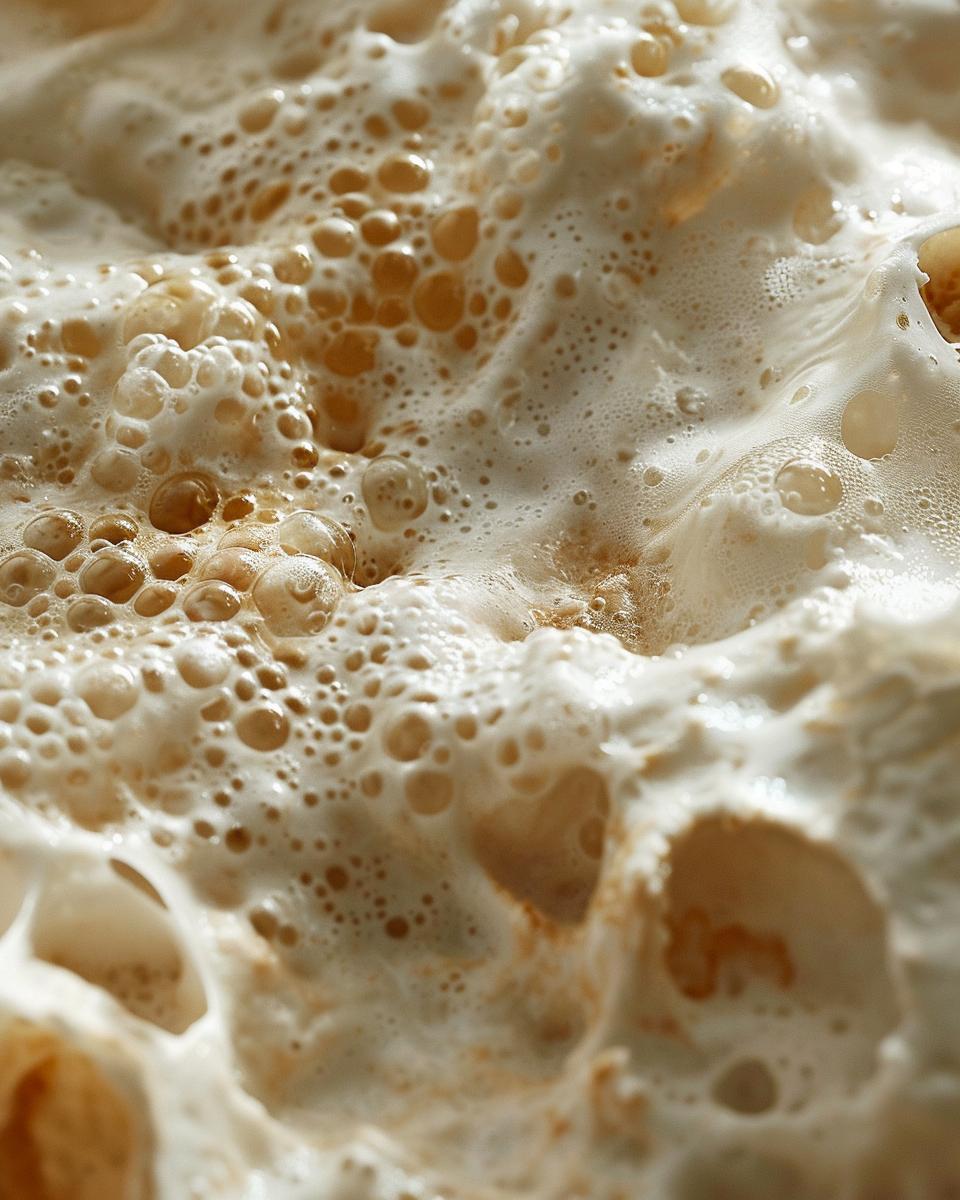
By Day 7, your starter should be bubbly, frothy, and almost double in size after feeding. This indicates that it’s ready to use in your favorite sourdough bread recipes. Remember to maintain your starter by feeding it once a week if stored in the refrigerator. This will keep your sourdough starter for bread always ready for action.
And there you have it! With patience and a bit of effort, you’ve created a living sourdough starter that will become the heart of your homemade bread. Happy baking!
Serving and Storing Ideas and Tips
Now that you’ve mastered the steps to create your sourdough starter, let’s dive into how to serve and store it. Whether you’re a novice baker or a seasoned pro, these tips will help you keep your starter healthy and ready for delicious creations.
How to Store Your Sourdough Starter
Proper storage is essential for maintaining an active and robust sourdough starter. Here are some practical tips:
- Day 1: Mix 1/2 cup of warm water with 1/2 cup of flour in a clean container.
- Day 2: Check for bubbles, indicating the fermentation process has begun.
- Day 3-7: Discard half of the starter and feed with fresh flour and water daily.
Once your starter is established, you can store it in the refrigerator. This slows down the fermentation process, so you only need to feed it once a week. Make sure to bring it to room temperature before use. If you’re not planning to use it for a while, you can even freeze it for up to three months.
Wondering what to do with the sourdough starter discard? There are plenty of creative sourdough starter discard recipes to try! You can make pancakes, waffles, or even crackers. These sourdough discard uses add a tangy twist to your favorite recipes, reducing waste and enhancing flavor.
For everyday use, keep your starter in a glass or ceramic container with a loose lid. This prevents contamination while allowing gases to escape. Remember, a healthy starter should be bubbly and have a pleasant sour smell.
By following these sourdough starter storage tips, you can ensure your starter remains in peak condition, ready to elevate your baking endeavors.
Have you tried any sourdough discard recipes? How do you store your sourdough starter? Share your experiences and tips in the comments below!
Pro Tips for Perfecting Your Sourdough Starter Recipe
- Always use a clean container to avoid contamination.
- Measure ingredients accurately for consistent results.
- Use unbleached flour for the best fermentation.
- Keep your starter in a warm place, around 70°F to 75°F.
- Feed your sourdough starter recipe at the same time daily.
- Stir well to incorporate air, boosting yeast activity.
- Monitor the starter’s smell; it should be pleasantly sour.
- If the starter smells off, discard and start over.
- Use filtered water to avoid chlorine, which harms yeast.
- Label your container with dates to track feeding times.
FAQ – Ingredient Replacement Options, Money-Saving Tips, and Relevant Tips
Q: Can I use whole wheat or rye flour instead of all-purpose flour?
A: Yes, you can use whole wheat or rye flour for your sourdough starter. However, it may alter the flavor and texture of your bread. Whole wheat flour can make the starter more dense, while rye flour can give it a more pronounced tangy flavor. If you prefer a lighter, milder starter, stick with unbleached all-purpose flour or a combination of both.
Q: How can I save money while making a sourdough starter?
A: Making a sourdough starter doesn’t require expensive tools or ingredients. You can use basic kitchen tools like a glass jar or ceramic bowl, a spatula, and a kitchen scale. Opt for inexpensive, unbleached all-purpose flour, which works perfectly fine. By keeping your starter healthy and active, you can avoid waste and make the most out of your ingredients.
Q: How do I maintain a consistent feeding schedule for my sourdough starter?
A: Consistency is key for a healthy sourdough starter. Feed your starter at the same time every day, using equal parts flour and water. Monitor its activity by checking for bubbles, a rise in volume, and a pleasant sour smell. Keeping a log can help you track its progress and adjust feedings if needed. For more detailed guidance, check out this beginner’s sourdough starter recipe.
More Tips and Tricks
Q: What should I do if my sourdough starter isn’t bubbling or rising?
A: This is a common issue in sourdough starter troubleshooting. Ensure your starter is kept at a stable room temperature (70°F to 75°F or 21°C to 24°C). If it’s too cold, the fermentation process slows down. Use filtered or dechlorinated water, as chlorine can inhibit yeast activity. If it still doesn’t show signs of activity, try adding a bit of whole wheat or rye flour to boost fermentation.
Q: Can I use the discard from my starter to make other recipes?
A: Absolutely! Sourdough discard can be used in various recipes, reducing waste and adding flavor to other baked goods. Try using it in pancakes, waffles, or even a delicious sourdough discard bread recipe. This practice not only saves money but also makes the most out of your hard work in maintaining the starter.
Q: Is it possible to combine sourdough starter and kefir in baking?
A: Yes, combining sourdough starter and kefir can create a unique flavor profile in your baked goods. Kefir, a fermented milk drink, can add a tangy taste and additional probiotics. When using both, adjust the hydration of your dough and monitor the fermentation process closely to avoid over-fermentation.

