Tart Crust Recipe: Perfect Flaky Pastry Every Time
Are you ready to unlock the secret to a perfect flaky pastry? Our tart crust recipe is what you need. Whether you’re a seasoned baker or a novice, this guide will help you create a mouthwatering tart crust every time. Imagine impressing your friends and family with a homemade tart that looks and tastes like it came from a professional bakery.
In this recipe:
- Simple and easy steps
- Pro tips for perfection
- Variations for sweet and savory tarts
Creating the perfect tart crust can feel intimidating, but it doesn’t have to be. With the right ingredients and a few pro tips, you’ll be well on your way. If you enjoy making homemade pasta, check out our Ravioli Dough Recipe for another culinary adventure.
But the journey doesn’t stop there. After mastering the tart crust, why not dive into perfecting your frosting skills? Our American Buttercream Recipe will guide you to frosting success. Both delicious recipes complement your tart creations beautifully.
So, grab your ingredients and let’s get started. Your perfect tart crust is just a few steps away. Ready to impress?

Who Can Make This Recipe and What You’ll Need
This tart crust recipe is perfect for bakers of all skill levels. Whether you’re a beginner just starting or an expert looking to refine your technique, this guide is for you. The difficulty level ranges from easy to moderate, making it accessible yet rewarding.
Essential Tools for Making Tart Dough
Before you start, make sure you have the following tools:
- Mixing bowls
- Pastry blender
- Rolling pin
- Tart pan
- Fork
These tools are crucial for the easy tart crust method outlined in this recipe. The mixing bowls help keep your ingredients organized, while the pastry blender allows you to achieve the perfect texture. A rolling pin is essential for evenly rolling out your dough, and a tart pan ensures your crust holds its shape. Finally, a fork is used to prick the dough, preventing air bubbles during baking.
One great tip for a homemade tart crust is to use cold butter and ice water. This technique helps in creating a flaky and delicious crust. Another handy tip is to avoid overmixing the dough. Overmixing can make the crust tough rather than light and tender.
For the best tart crust techniques, consider using a tart pan with a removable bottom. This makes it easier to remove the tart without damaging the crust. Additionally, always chill your dough before baking. This step allows the gluten to relax, making the crust easier to handle and bake evenly.
If you’re looking for more tips on making tart dough, check out this Sweet Tart Crust guide. It offers additional insights and tips to ensure your tart crust turns out perfectly every time.
The Ingredients Needed to Make the Perfect Tart Crust
Now that we’ve covered the minimal equipment needed for this tart crust recipe, let’s dive into the tart crust ingredients. Choosing the right ingredients is crucial for achieving the perfect texture and flavor in your tart crust. Whether you are a baking novice or a seasoned pro, these ingredients will help you create a flawless tart crust that will impress everyone.
Essential Ingredients for a Flawless Tart Crust
Let’s start with the basics. Here are the key ingredients you’ll need:
- 2 1/4 cups all-purpose flour: This is the foundation of your tart crust. Make sure to measure it accurately for the best results.
- 1/2 teaspoon salt: Salt enhances the flavor of your crust. Don’t skip it!
- 1/2 cup cold unsalted butter, cut into small pieces: Using cold butter is essential for creating a flaky texture. Cut it into small pieces to ensure it incorporates evenly.
With these simple tart crust ingredients, you are well on your way to mastering the basic tart dough process. Remember, the quality of your ingredients can make a significant difference in the final product. So, choose wisely and enjoy the process of making your perfect tart crust!
Do you have all your ingredients ready? Great! Let’s move on to the next step and start bringing our tart crust to life.

Step-by-Step Guide on How to Make a Tart Crust
Now that we’ve got all our ingredients ready, let’s dive into the step-by-step process of making the perfect tart crust. Follow these instructions closely for the best results.
Combining the Dry Ingredients
First, combine flour and salt in a large mixing bowl. Mix them well using a whisk. This step is crucial for evenly distributing the salt throughout the flour, ensuring a consistent flavor.
Next, it’s time to cut in the cold butter. Add the butter pieces to the flour mixture. Using a pastry blender or your fingers, work the butter into the flour until the mixture resembles coarse crumbs. This step ensures a flaky tart crust, a secret to achieving that perfect texture.
Once you have a crumbly mixture, gradually add ice water. Pour in the water a little at a time while mixing. Continue until the dough starts to come together. Be careful not to overmix, as this can lead to a tough crust. The dough should be slightly sticky but manageable.
Shape the dough into a ball and flatten it slightly into a disk. Wrap it in plastic wrap and refrigerate for at least 30 minutes. This chilling step is vital for firming up the dough and making it easier to handle later.
Preheat your oven to 375°F (190°C). After chilling, roll out the dough on a lightly floured surface to about 1/8 inch (3 mm) thickness. Use a tart pan or pie dish to shape the dough, allowing for a 1-inch (2.5 cm) overhang. Press the dough gently into the corners and sides of the pan.
Trim the excess dough from the edges. To avoid air bubbles, use a fork to prick the bottom of the crust all over. This step, known as blind baking tart shells, ensures an even bake without puffing up.
Bake the crust in the preheated oven for 15-20 minutes or until it’s golden brown. Remove it from the oven and let it cool completely before adding your desired filling. You’ve now mastered the perfect tart dough, ready to be filled with your favorite ingredients!
Serving and Storing Ideas and Tips
Now that you’ve mastered the steps to make this tart crust, let’s explore some ideas for serving and storing it. This recipe is accessible to all levels and requires minimal cooking knowledge or experience. Whether you’re a novice baker or a seasoned pro, you’ll find that serving and storing this tart crust is a breeze.
Serving Tart Crust
Once your tart crust is baked to golden perfection, it’s time to think about how to serve it. Here are some ideas:
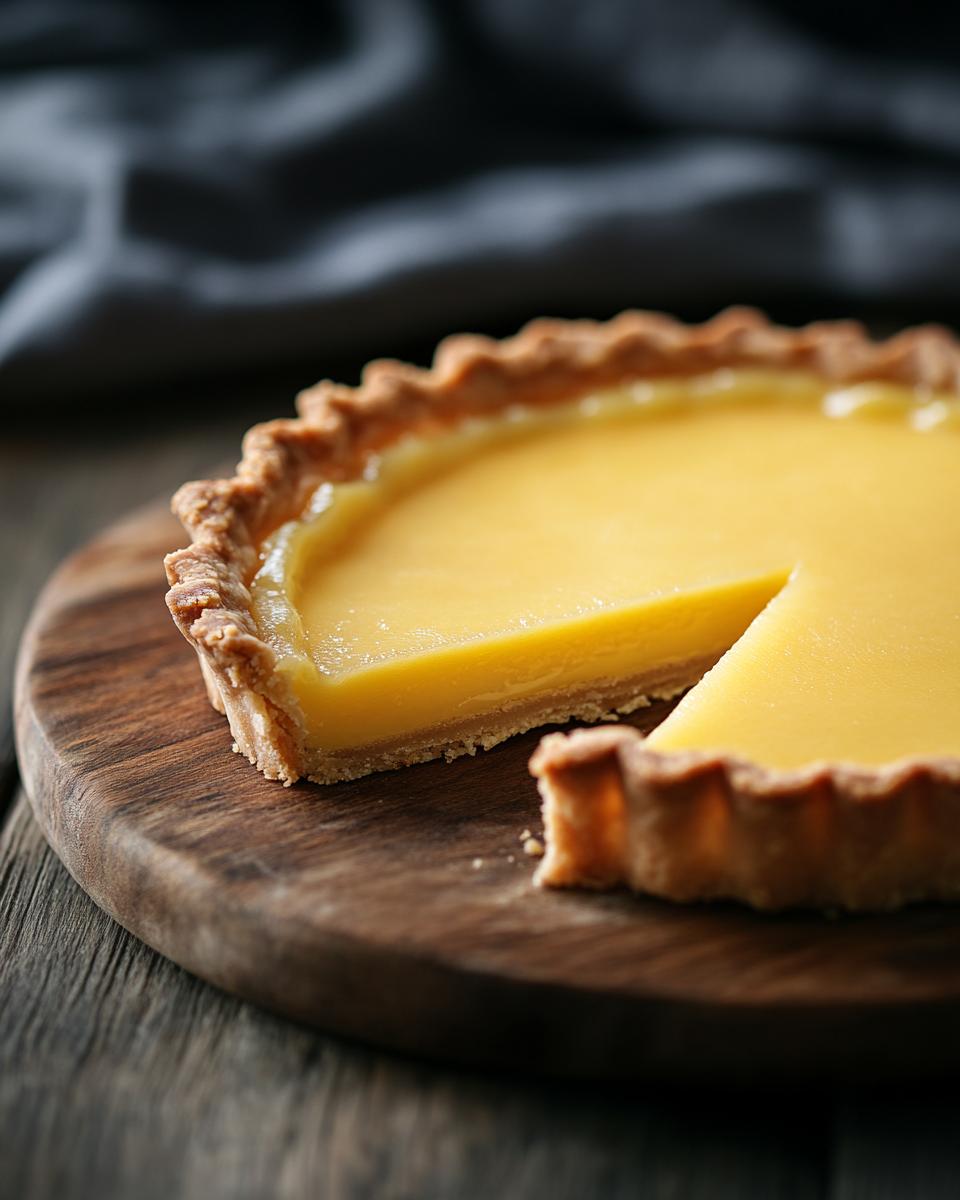
- Sweet Tart Fillings: Try filling your tart crust with classic options like lemon curd, chocolate ganache, or fresh berries and cream. These are some of the best tart filling recipes that complement the buttery crust perfectly.
- Savory Tart Fillings: If you prefer savory over sweet, consider fillings like quiche with spinach and cheese, or a tomato and basil tart. The possibilities are endless and delicious!
- Individual Portions: For a fun twist, use smaller tart pans to create individual servings. This is perfect for parties or special occasions.
Don’t forget to garnish your tarts with fresh herbs, a dusting of powdered sugar, or a drizzle of sauce to add an extra touch of elegance.
Storing Tart Crust
Properly storing your tart crust ensures it stays fresh and ready for your next culinary creation. Here are some tips:
- Room Temperature: If you plan to use the crust within a day or two, store it in an airtight container at room temperature.
- Refrigeration: For longer storage, wrap the crust tightly in plastic wrap and place it in the refrigerator for up to 3 days. This method keeps it fresh and prevents it from drying out.
- Freezing: To store the tart crust for an extended period, freeze it. Wrap the crust in plastic wrap and then in aluminum foil. It can be stored in the freezer for up to 3 months. When ready to use, thaw it in the refrigerator overnight.
By following these simple tips, you can enjoy your tart crust anytime. Whether you’re serving a sweet dessert or a savory dish, this versatile crust will be the star of your meal.
Now that you know how to serve and store your tart crust, the possibilities are endless. What will you fill your tart with next? Share your creations and inspire others to try their hand at making this delightful crust!

Pro Tip
- Always use cold butter for a flaky tart crust.
- Chill the dough before rolling to prevent shrinking.
- Don’t overmix; it keeps the crust tender.
- Use parchment paper for easy dough transfer.
- Prick the base to avoid air bubbles.
- For added flavor, mix in herbs or spices.
- Blind bake using pie weights for even cooking.
- Allow the crust to cool before adding filling.
- Freeze extra dough for quick future use.
- Store the baked crust in an airtight container.
FAQ – Ingredient Replacement Options and Tips
Making a tart crust can sometimes be tricky, especially when you need to substitute ingredients. Here are some frequently asked questions to help you navigate these challenges.
Ingredient Replacement for Tart Crust
Q: Can I use a food processor to make the tart crust?
A: Yes, you can definitely use a food processor. Pulse the ingredients until they form coarse crumbs. This method is quick and ensures an even distribution of fat, resulting in a flaky crust.
Q: Can I substitute butter with shortening?
A: Yes, you can substitute butter with shortening. This will give the crust a different texture, making it slightly more tender. However, butter adds a rich flavor that shortening lacks, so keep this in mind when making your choice.
Q: How do I make a gluten-free tart crust?
A: To make a gluten-free tart crust, simply use gluten-free flour in place of regular flour. You may need to add a bit more liquid to the dough, as gluten-free flour can be more absorbent. For more tips, check out this guide on making tart crusts.
Money-Saving Tart Crust Tips
Q: Are there any money-saving tips for making tart crust?
A: Absolutely! Buy butter in bulk when it’s on sale and freeze it. You can also make a double batch of crust and freeze one for later use. This saves both time and money. Another tip is to use a digital kitchen scale to measure ingredients accurately, reducing waste. Here’s a great kitchen scale to consider.
Q: What’s the best way to prevent the crust from shrinking?
A: To prevent the crust from shrinking, chill the dough for at least 30 minutes before baking. Prick the bottom with a fork and use pie weights or dried beans to hold the dough in place while it bakes. This method helps maintain the crust’s shape and saves you from having to redo it.
Q: Can I make a vegan tart crust?
A: Yes, you can make a vegan tart crust by replacing the butter with a plant-based alternative, such as vegan butter or coconut oil. Also, use a flax egg (1 tablespoon ground flaxseed mixed with 3 tablespoons water) instead of a regular egg. This way, you can enjoy a delicious tart crust without any animal products.
Whether you’re making a traditional tart crust or experimenting with gluten-free or vegan options, these tips and answers should help you create the perfect base for your tart. Happy baking!