Yogurt Bread Recipe That Will Astonish Your Taste Buds
Are you ready to discover a yogurt bread recipe that will astonish your taste buds? This delightful recipe combines the tangy flavor of yogurt with the soft texture of freshly baked bread. Perfect for breakfast or as a snack, this bread is sure to become a household favorite.
In this recipe:
- Easy-to-follow steps
- Ingredients you likely already have
- Quick baking time
Imagine pulling a warm loaf of yogurt bread from your oven, the aroma filling your kitchen. This recipe is simple yet incredibly satisfying, and it’s a fantastic way to use up any extra yogurt you have. Plus, it pairs wonderfully with butter, honey, or your favorite spread.
If you love baking, you might also enjoy our Easy Baguette Recipe. It’s perfect for mastering French baking at home. Additionally, our Sourdough Sandwich Bread is a must-try for all bread enthusiasts.
So, gather your ingredients and get ready to impress your family and friends with this amazing yogurt bread recipe. Happy baking!

Who Can Make This Yogurt Bread Recipe
This homemade yogurt bread recipe is perfect for everyone, especially beginners. Why? Because it’s incredibly simple and requires minimal ingredients. If you’re just starting your baking journey, this recipe is a fantastic place to begin.
Required Tools and Equipment
To whip up this easy yogurt flatbread, you’ll need just a few basic kitchen tools. Gather your mixing bowls, a whisk, a loaf pan, and measuring cups and spoons. With these items, you’re all set to create a delicious loaf of bread.
One of the best parts about this recipe is its difficulty level: easy. You don’t need advanced baking skills or fancy equipment. Even if you’ve never baked bread before, you can confidently make this quick flatbread with yogurt.
For those looking for an even simpler option, you might want to check out this 2-ingredient yogurt bread. It’s a great alternative that also delivers fantastic results.
Whether you’re a seasoned baker or a complete novice, this yogurt bread recipe is foolproof. It’s designed to be straightforward, ensuring that anyone can make it without hassle. So, don’t hesitate to give it a try—you’ll be surprised at how easy and enjoyable bread-making can be!
Ready to get started? Gather your ingredients and tools, follow the simple steps, and enjoy the delicious aroma of freshly baked bread filling your kitchen. Happy baking!
The Ingredients Needed to Make Yogurt Bread
Now that we’ve discussed the minimal equipment needed, let’s dive into what really matters: the ingredients. Choosing the right ingredients is crucial for the perfect outcome of your yogurt bread. Whether you’re a beginner or a seasoned baker, the following list of ingredients is simple and easy to source. Ready to get started?
Essential Ingredients for a Perfect Yogurt Bread
Here are the key ingredients you’ll need:
- 2 cups all-purpose flour – This forms the base of your bread dough. For a variation, you might try a Greek yogurt bread with no flour, using alternatives like almond or coconut flour.
- 1 teaspoon salt – Essential for flavor, don’t skip this.
- 1 teaspoon baking powder – This helps your bread rise and gives it a light, fluffy texture.
- 1/2 cup plain yogurt – Opt for full-fat or low-fat based on your preference for a healthy yogurt bread.
- 1/4 cup sugar – Adds a touch of sweetness. Adjust based on your taste.
- 1 large egg – This adds richness and helps bind the dough together.
- 1/4 cup milk – Helps to create a smooth and moist dough. You can substitute with plant-based milk if desired.
- 2 tablespoons melted butter – Adds flavor and moisture to the bread.
Have you ever wondered how different each ingredient can make your bread? For instance, using yogurt in your dough creates a unique texture and flavor, similar to yogurt flatbread dough. It’s important to measure accurately and choose the best quality ingredients you can find.
Now that you have gathered all the ingredients, you’re ready to start baking! Excited to see how your yogurt bread turns out? Let’s move on to the next steps and get baking!
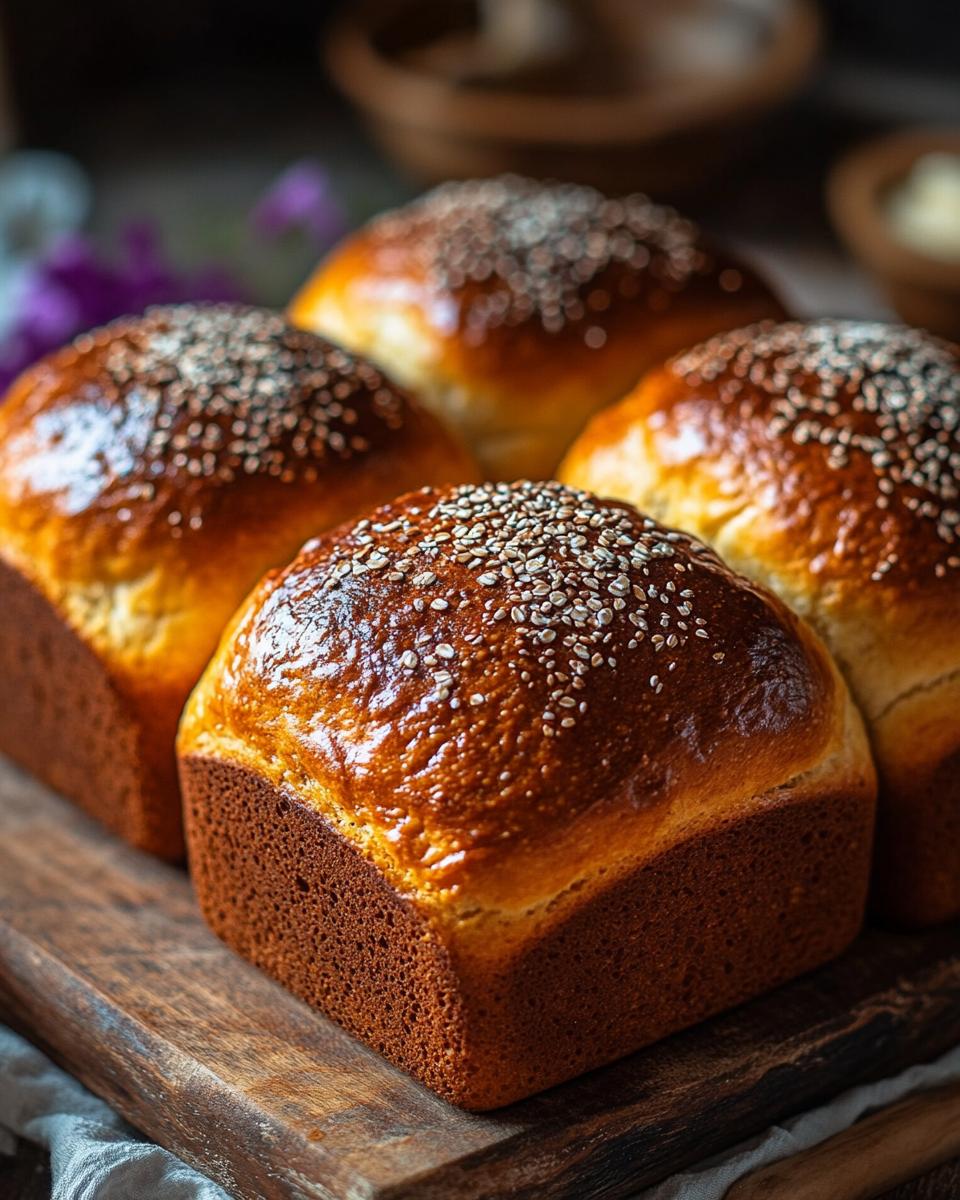
Step-by-Step Guide on How to Make Yogurt Bread
Now that you’ve gathered all the ingredients for your recipe for yogurt bread, it’s time to move on to the fun part: making the bread. Follow these simple steps to create a delicious loaf of bread made with yogurt. Let’s get started!
Preparing the Dry and Wet Ingredients
1. Preheat your oven: Set your oven to 375°F (190°C). While it heats up, grease a 9×5-inch loaf pan with butter or cooking spray. This will ensure your bread doesn’t stick to the pan.
2. Mix the dry ingredients: In a large mixing bowl, whisk together 2 cups of all-purpose flour, 1 teaspoon of salt, and 1 teaspoon of baking powder. Make sure to combine them thoroughly for an even distribution of the baking powder.
3. Combine the wet ingredients: In a separate bowl, mix 1/2 cup of plain yogurt, 1/4 cup of sugar, 1 large egg, and 1/4 cup of milk. Whisk these ingredients until the mixture is smooth and well combined.
4. Integrate the mixtures: Slowly add the wet ingredients to the dry ingredients. Stir gently until just combined. Be careful not to overmix, as this can lead to a dense loaf.
5. Prepare for baking: Pour the batter into the greased loaf pan. Smooth the top with a spatula to ensure even baking.
6. Bake the bread: Place the loaf pan in the preheated oven. Bake for 45-50 minutes. To check if it’s done, insert a toothpick into the center of the loaf. It should come out clean.
7. Cool the bread: Once baked, remove the bread from the oven. Let it cool in the pan for 10 minutes. Then, transfer it to a wire rack to cool completely.
And there you have it! A simple yogurt bread recipe that results in a delicious, moist loaf of bread made with yogurt. Enjoy your homemade bread with butter, jam, or simply on its own. Happy baking!
Serving and Storing Ideas and Tips
Now that we’ve walked through the step-by-step guide on how to make this delicious yogurt bread, let’s dive into some tips and ideas on serving and storing it. Whether you’re a novice or an experienced baker, these simple tips will ensure your bread stays fresh and tasty.
Serving Yogurt Bread
Once your bread has cooled, it’s time to enjoy the fruits of your labor. This yogurt bread is incredibly versatile and can be served in various ways. Slice it up and toast it for a warm, crispy treat. Spread some butter, jam, or honey on top for a delightful breakfast or snack. You can even serve it alongside soups or salads for a complete meal. Have you tried pairing it with your favorite dip or spread? The options are endless!
For those who love a sweet twist, consider adding toppings like fresh berries, a sprinkle of cinnamon, or a drizzle of maple syrup. If you’re entertaining guests, yogurt bread makes an excellent addition to a brunch spread. Its light texture and subtle flavor make it a crowd-pleaser.
Remember, the best yogurt bread is enjoyed fresh, but it can be just as delightful when stored properly.
Storing Yogurt Bread
To keep your yogurt bread fresh, store it in an airtight container at room temperature. It will stay moist and delicious for up to three days. If you need to store it for longer, consider freezing it. Wrap the bread tightly in plastic wrap, then place it in a freezer-safe bag. This way, you can enjoy your homemade bread for up to two months. When you’re ready to eat, simply thaw it at room temperature or warm it up in the oven.
If you want to keep the bread from drying out, you can also brush the top with a bit of melted butter or oil before storing. This simple trick helps retain moisture and adds a touch of flavor. Have you tried these storing yogurt bread tips before?
By following these serving and storing ideas, you can make the most out of your yogurt bread. Happy baking!
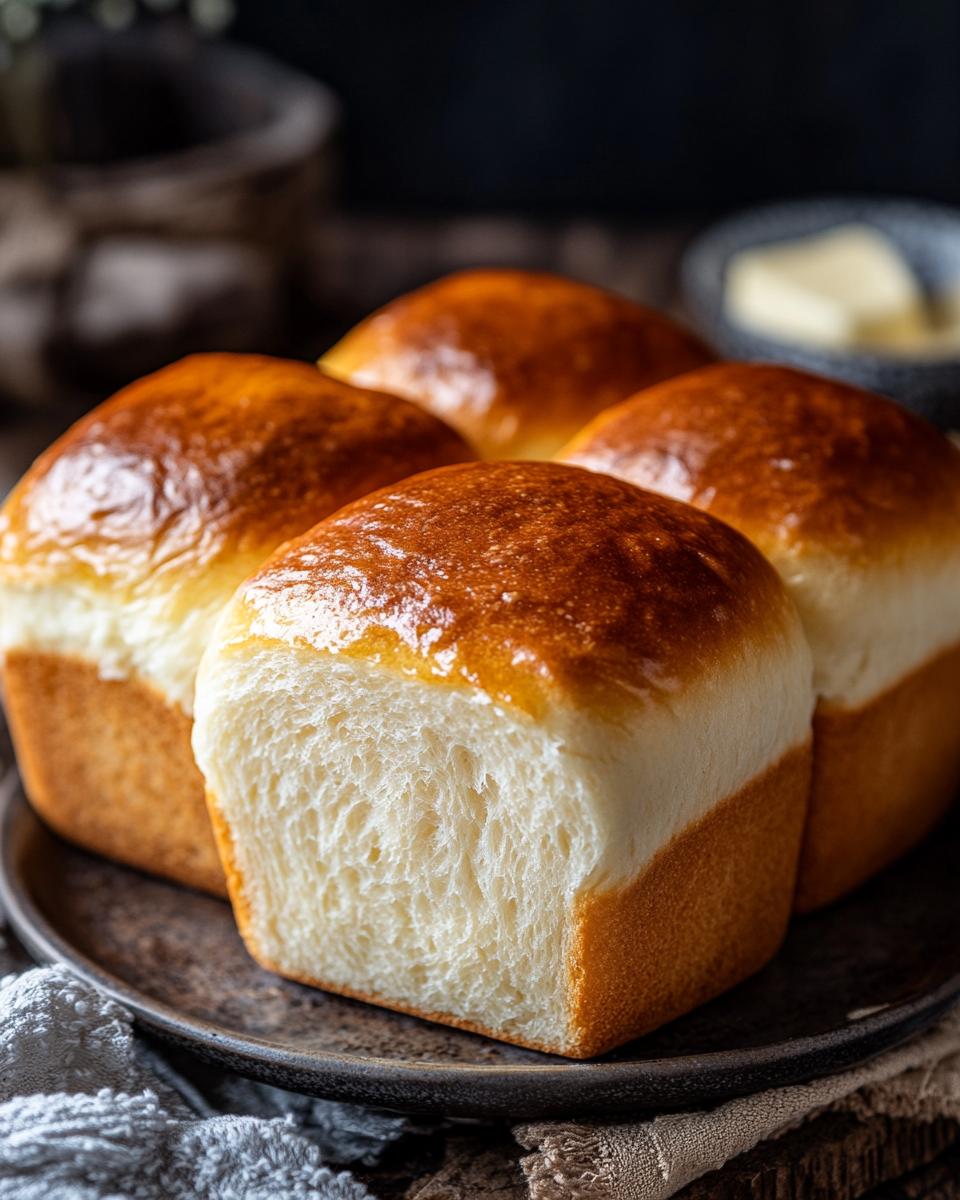
Pro Tips for Perfect Yogurt Bread
- Always preheat your oven for even baking.
- Use room temperature ingredients for a smoother mix.
- Don’t overmix the batter to keep it light and fluffy.
- For extra flavor, add a teaspoon of vanilla extract.
- Grease your loaf pan to prevent sticking.
- Let the bread cool completely before slicing for best results.
- Use a digital scale for precise measurements.
- Store the bread in an airtight container to keep it fresh.
- Add nuts or dried fruit for added texture.
- Brush the top with melted butter for a golden finish.
FAQ – Ingredient Replacement Options, Money-Saving Tips, and Relevant Tips
Welcome to our FAQ section! Here, we address some popular questions regarding ingredient replacements and other tips to make the best yogurt bread. Let’s dive in!
Ingredient Replacement Options
Q1: Can Greek yogurt be used instead of plain yogurt?
Yes, you can use Greek yogurt instead of plain yogurt. However, Greek yogurt is thicker and tangier, which may affect the texture and flavor of your bread. If you prefer a lighter, fluffier bread, consider adding a little extra milk to balance the consistency.
Q2: How can I make the bread more moist?
To make your yogurt bread more moist, try adding a tablespoon of honey or maple syrup to the batter. These ingredients not only enhance the moisture but also add a subtle sweetness that complements the tanginess of the yogurt.
Q3: Can I use a bread machine to make yogurt bread?
Absolutely! You can adapt this recipe for a bread machine. Simply add all the ingredients to your bread machine and follow the manufacturer’s instructions for baking. For more information on yogurt bread machine recipes, check out this guide.
Money-Saving Tips and Relevant Tips
Q1: Is there a way to make yogurt bread without yeast?
Yes, you can make yogurt bread without yeast. The recipe provided in this blog post uses baking powder as a leavening agent, making it a quick and easy no-yeast bread option. For more no-yeast recipes, visit Kirbie Cravings.
Q2: Can I use flavored yogurt in this recipe?
While plain yogurt is recommended for a neutral flavor, you can use flavored yogurt if you prefer a hint of sweetness or fruitiness in your bread. Keep in mind that flavored yogurts usually contain added sugars, which may alter the overall sweetness of your bread.
We hope these FAQs help you on your yogurt bread baking journey! Don’t hesitate to experiment and make the recipe your own. Happy baking!

